Hello #LeggariNation, follow along to see how we gave these floors a new look using our milk chocolate, black, and caramel pigments!
This article shows a DIY project that you can do to give your floors a designer epoxy look!
Step 1: Mixing and Applying Primer


The first step in this process is to tape off any edges on your floor to ensure a clean space for you to work in. After doing so, you can begin to mix your primer. It is essential to have your floor prepped and taped off before mixing your primer because immediately after mixing, you want to start to apply.
The image above shows that we used a painter’s tray and a paint roller to apply our primer. The roller is great for applying an even layer on your floor throughout the space. You must prime the entire floor evenly. Using these supplies makes this step go smoothly and quickly.
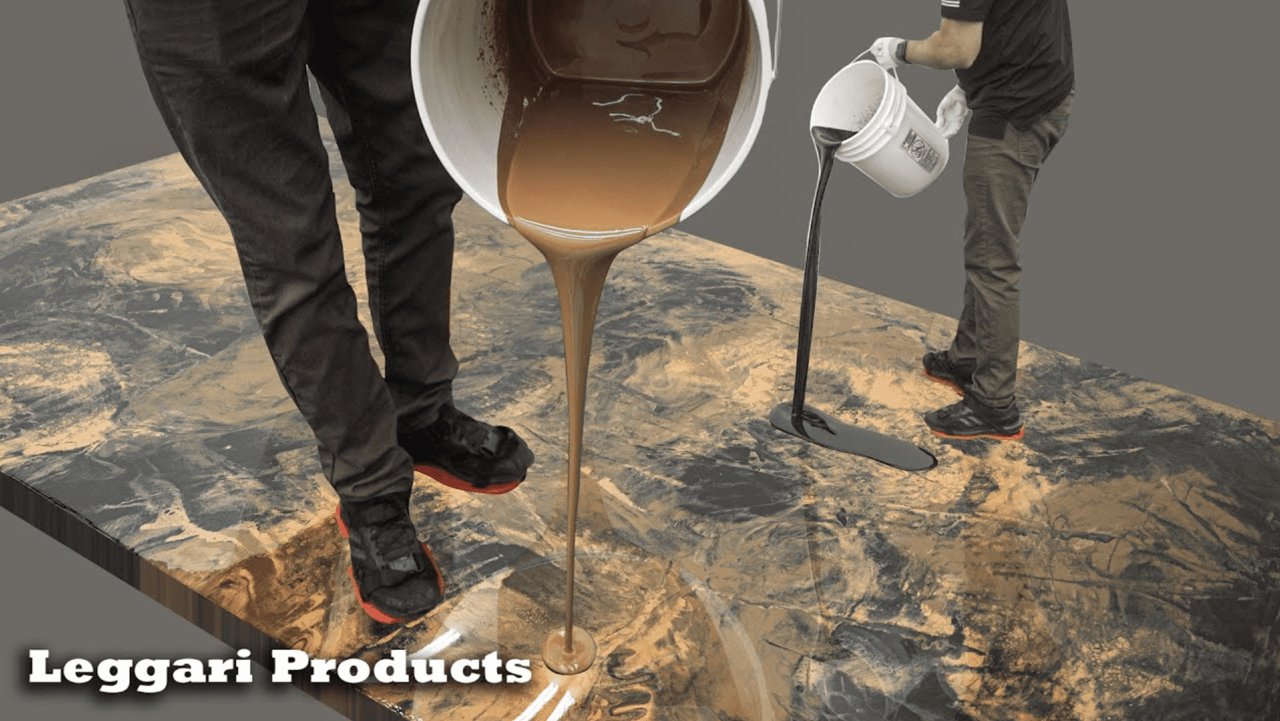
Step 2: Mixing Epoxy

Remember, before mixing your Epoxy, make sure that you have all of your previous steps completed.
Once you mix epoxy, you don’t want it sitting inside the buckets for too long before you start pouring.
We used Leggari Pigments on this floor; it consisted of 3 colors. To work more efficiently, we mixed all of our epoxy first, then divided that into three buckets to mix the colored pigments in each one.
As long as you have the correct amount of product depending on your square footage, you too will be able to consolidate your epoxy mixing all at one time.
Step 3: Applying Epoxy

Begin this step by pouring all of the base coat onto the floor. After doing so, use a squeegee as shown in the first picture. Start to evenly spread out the base coat onto the whole floor. Covering your surface with a base coat of epoxy is vital for further steps to come.
After doing so, we took a paint roller and rolled over the entire floor. This allows your product to even out throughout the floor.
Step 4: Blending Epoxy

For this step, we used a Leggari Flat squeegee. The flat squeegee is used for putting down 30 square feet a gallon, which is what we did for this specific technique.
When you are blending the epoxy, you want to ensure that you always hold the squeegee at an angle and not press down too hard because you don’t want to move the resin too much, just enough to blend the colors creating your design.
Step 5: Dispersing Effects & Denatured Alcohol

Once we got the floor laid out and were happy with what the design looked like, we were ready to spray on the isopropyl alcohol; we always made sure that it was 91 percent of alcohol or higher. You want to spray this across your entire floor.
Doing this will help you obtain those cells and dispersing effects on your floor. Then, after about 5 minutes, we mist the denatured alcohol to solidify the design after evaporating.
Final Look:


Check out how beautiful the final look is.
These products and techniques allow you to create a beautiful stone-like design on your floors!