
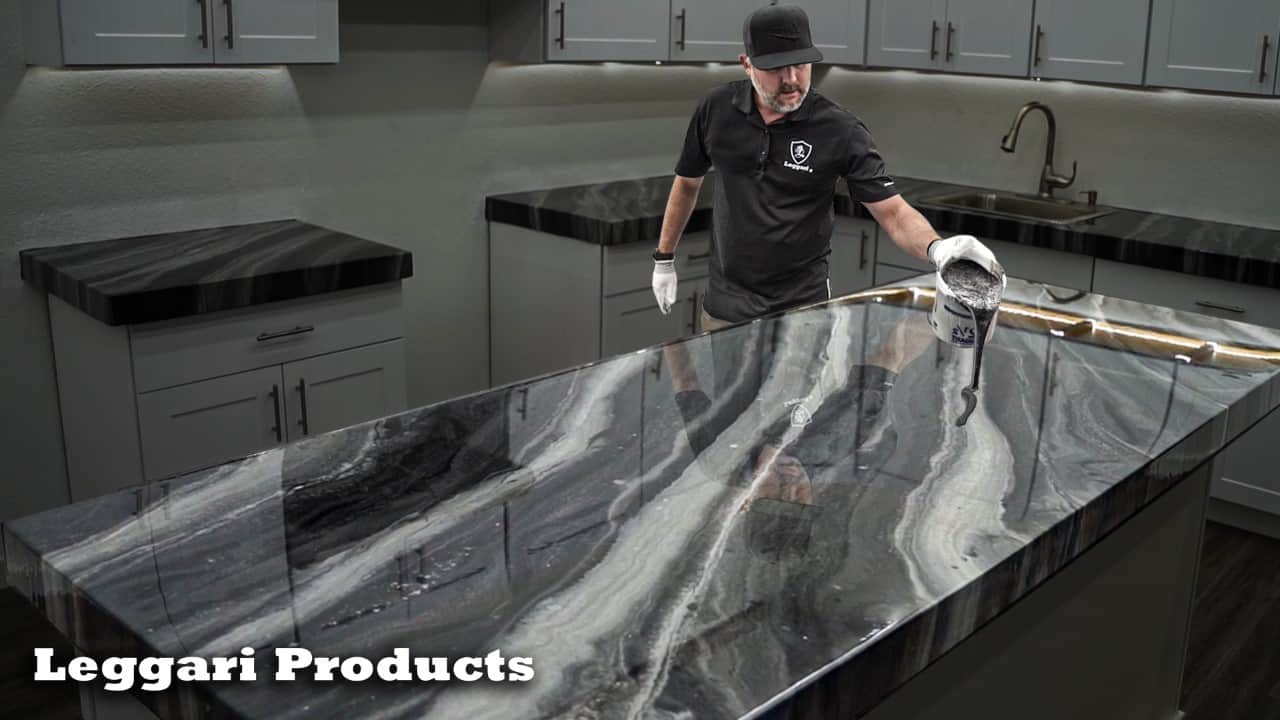
Welcome back #LeggariNation In this article, we show you the step-by-step process of installing this Leggari Stone Kit! We used jet black & dolphin gray pigments & silver leggari effects (Coming to our website soon).
Our Leggari Stone Kits mimic real stone-like surfaces while saving thousands of dollars on any kitchen remodel! Follow along to see how DIY-friendly our products are, and how easy this can be for anyone to tackle these projects!
Step 1: Applying Primer
First, you want to prime your countertops. Primer is the first step and just as it is simple, it is very essential to cover the countertops completely.
We used a small paint roller to cover the entire countertop with primer. Before doing this, we did tape off all of the edges to protect our walls from getting any product on them.
We also plastic-wrapped the kitchen cabinets, again, to not have to worry about staining them.
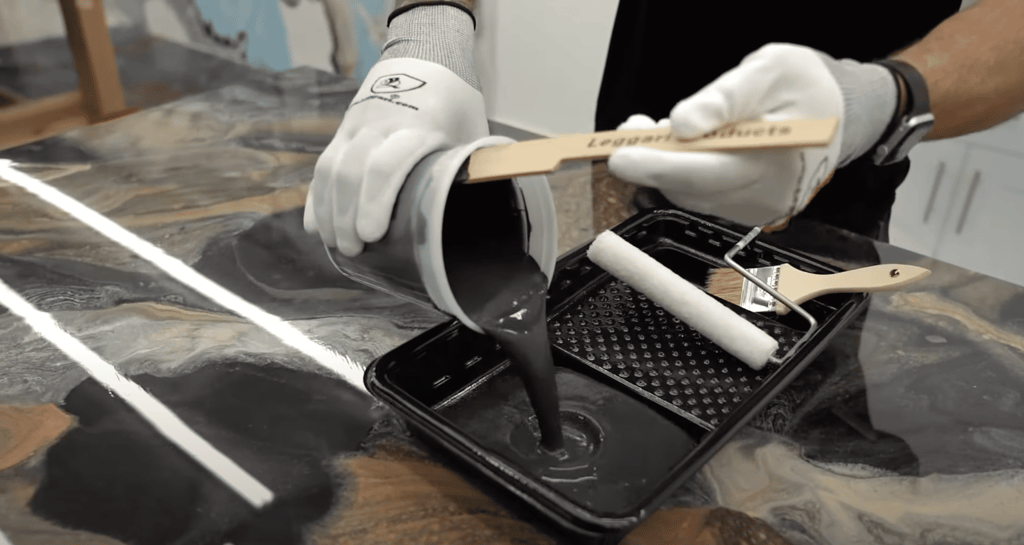
SStep 2: Mixing Epoxy
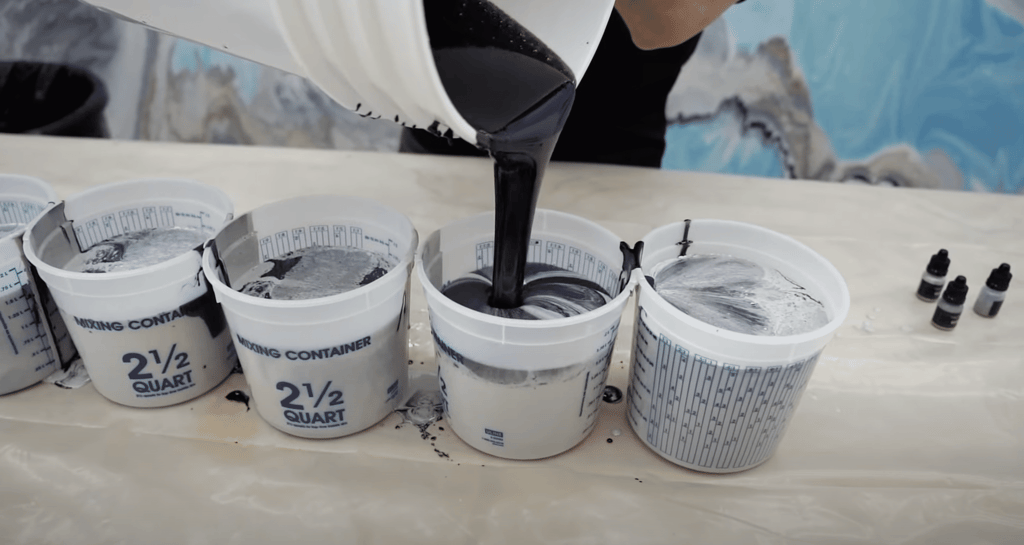
Our next step is to mix our epoxy. We used two of our Leggari Epoxy pigment colors, Jet Black and Dolphin Gray. We also used out Leggari Effects in silver.
If you ever want to add different colors, we always recommend that you use spray paint. We have used those in multiple projects and are always amazed at how beautiful the designs are with doing that turnout.
For these countertops, we wanted to keep a uniform design so we poured about the same in each of our different batches. As you can see, they still don’t turn out identical.
Step 3: Applying Epoxy
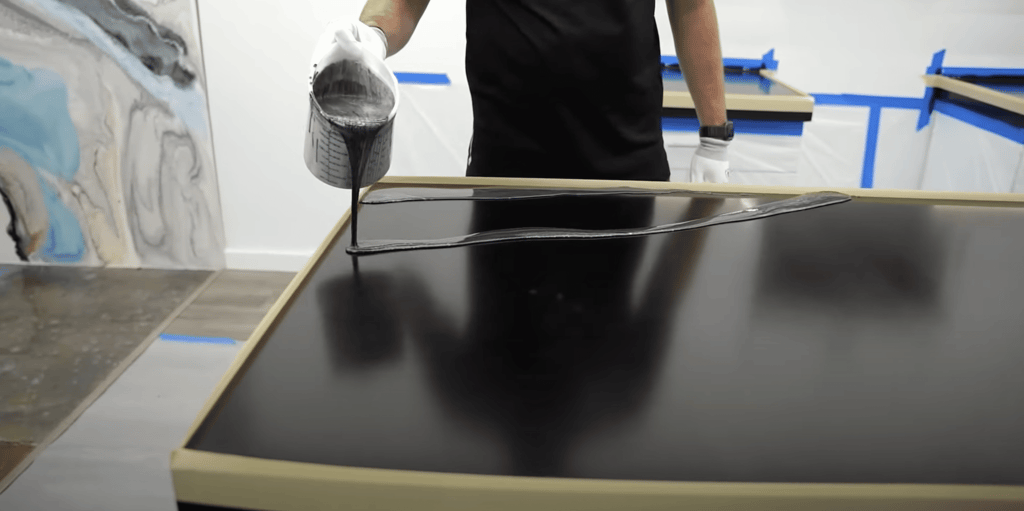
You will find that the Leggari Effects tend to rise and stay at the top of the resin, you don’t want to pour that all out on one spot so do be careful to equally spread it through your countertops.
Before pouring you do have the option to trace a path for yourself, making it clear and easy when you go to pour the resit onto the countertops.
For this kitchen, we wanted to do a more simple and uniform look so we didn’t have to trace anything beforehand. Remember that is really just based on a personal reference!
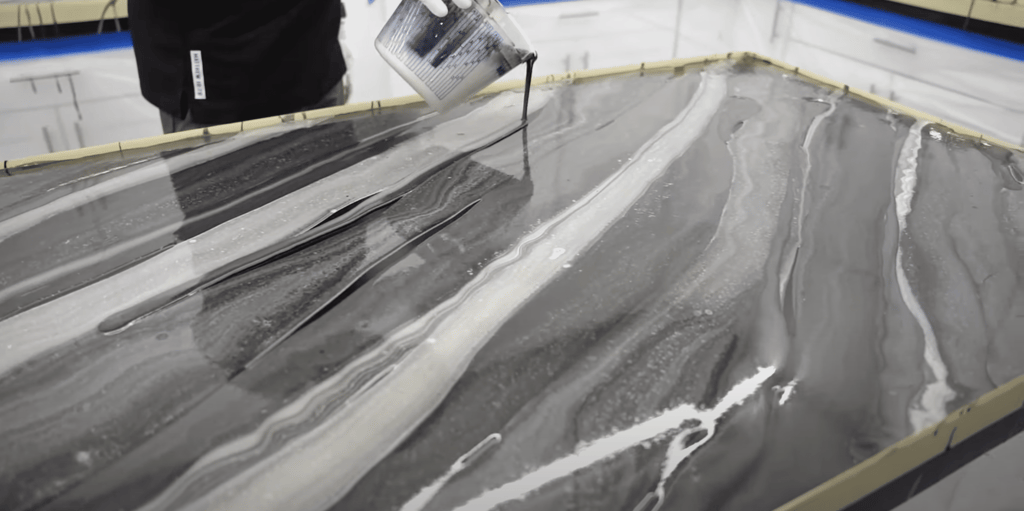
Step 4: Creating Veins

Once you have poured all of your resin onto your countertop, it is time for you to refine any spots where you feel that need it.
As you can see in the image, we wanted to create more vein-looking designs and this is really easy to do!
Taking a small squeegee is a great way to move the resin around while manipulating your countertops to how you want them to look.
Step 5: Dispersing Effects
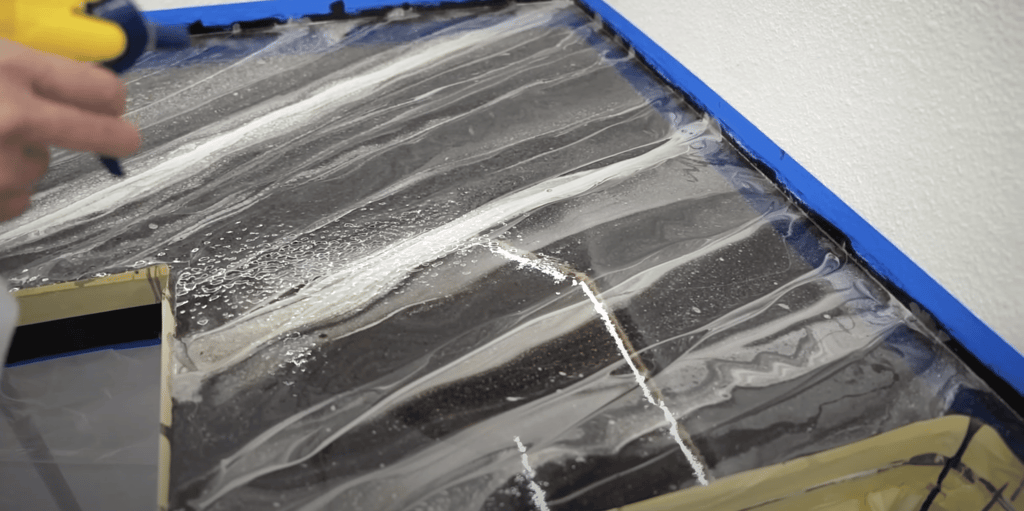
Creating dispersing effects is the next step in achieving that real stone look. We use 91 percent alcohol or higher of isopropyl to create the different cells.
We gave this about 5 – 10 minutes to evaporate. After that, we mist it with denatured alcohol.
You will find that sometimes after the first round of doing this it will not create as many dispersing effects as you want it to. Don’t be afraid to repeat this step more than once! We did it twice to get the exact look we wanted.
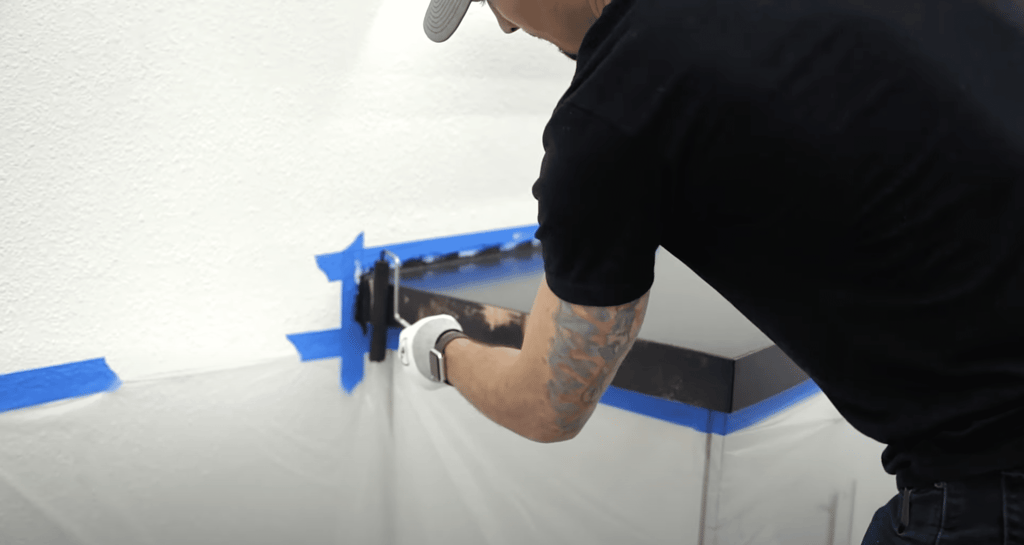
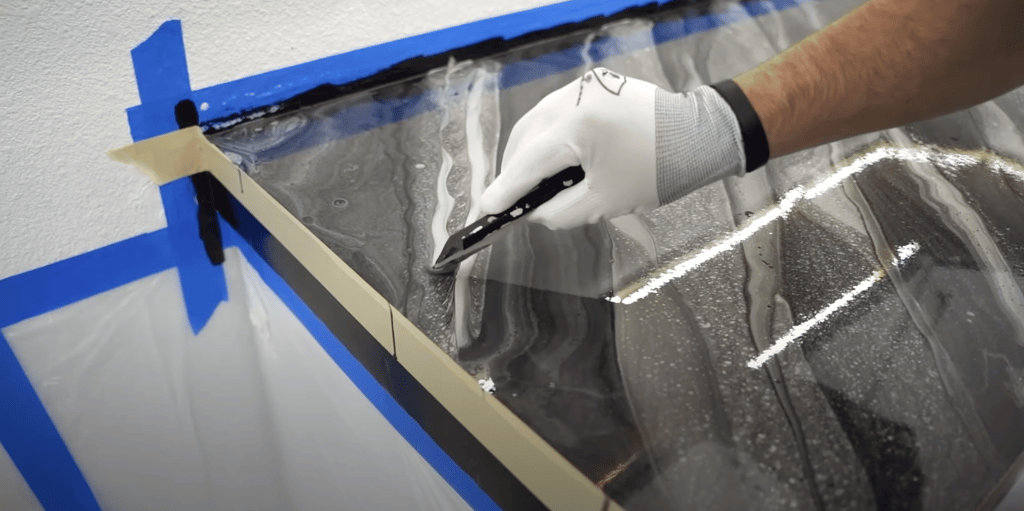
Step 6: Edges
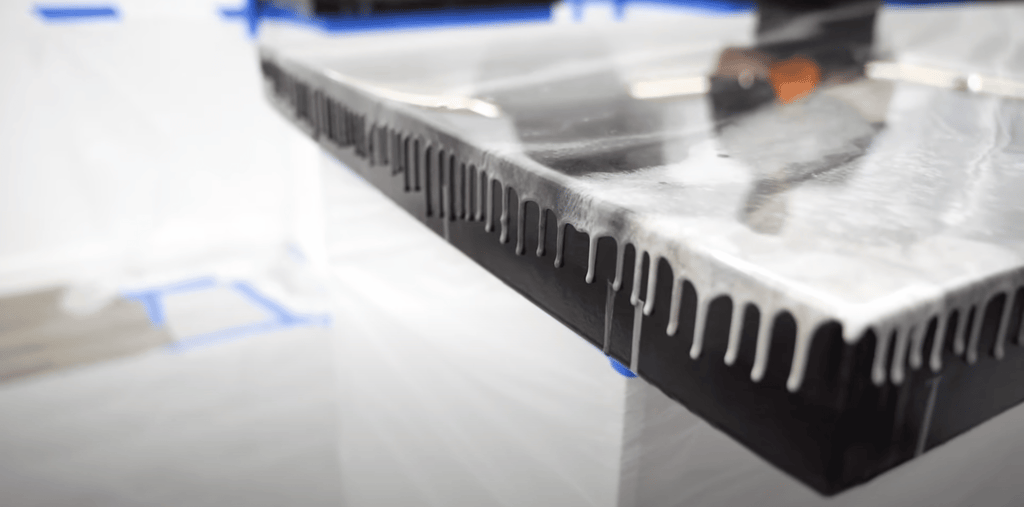
Pulling the tape off of the edges will be vital to ensure that your epoxy does not run off completely onto your floor.
If you pull the tape a bit and the epoxy is running off very quickly, it is not time to do so. As you can see in the picture the resin is slowly dripping.
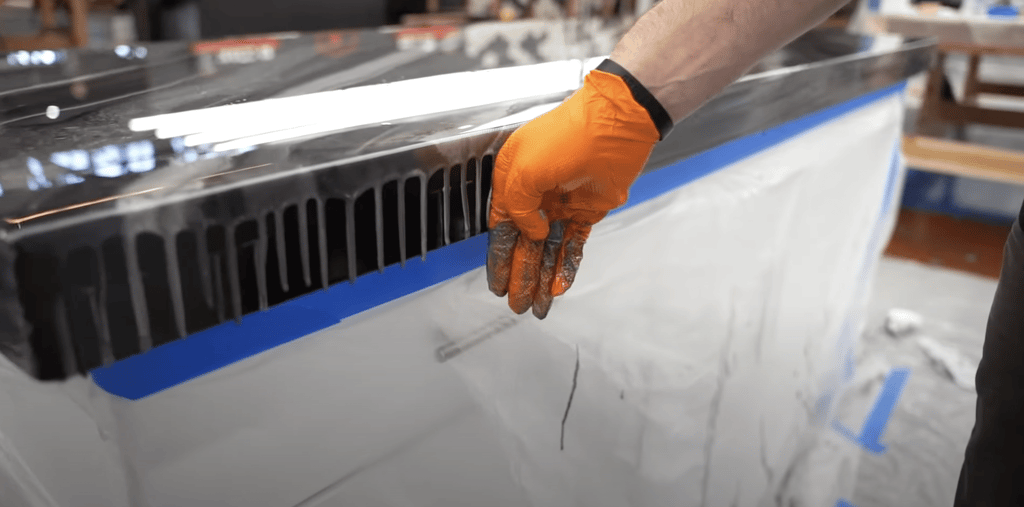
We went with just our hand (with gloves on) and smeared it to cover the entire edge. You will see in the images to come how the epoxy eventually kept falling down continuing to spread its design downward.
Final Look
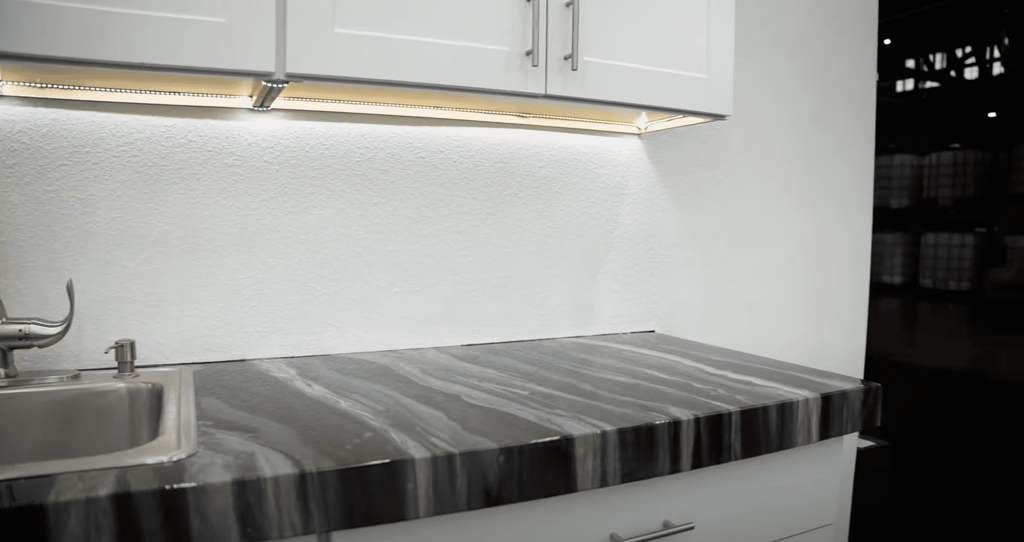
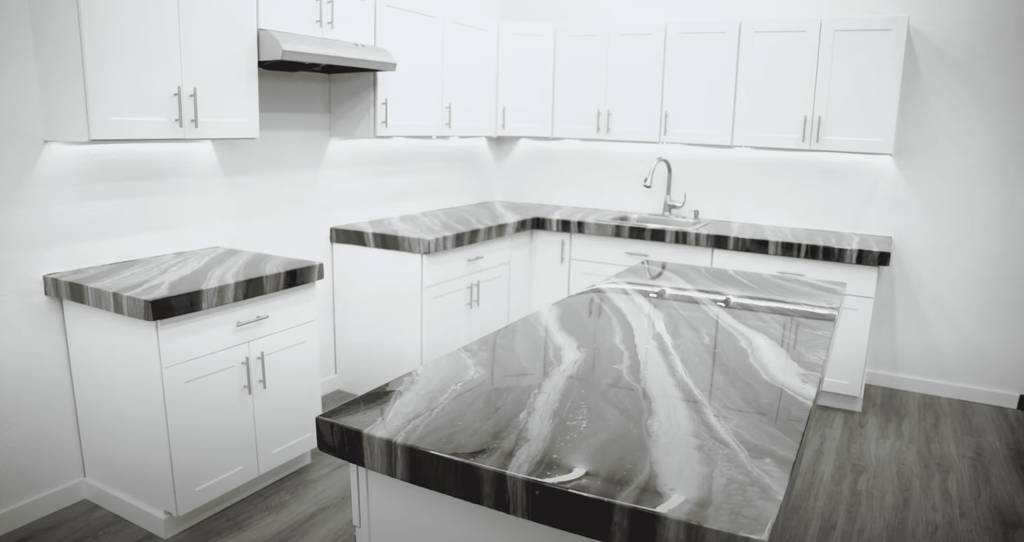
The final result is beautiful! Look at how beautiful the edges are. The design continued to drip down making the resin seem as if it is a cut of stone.