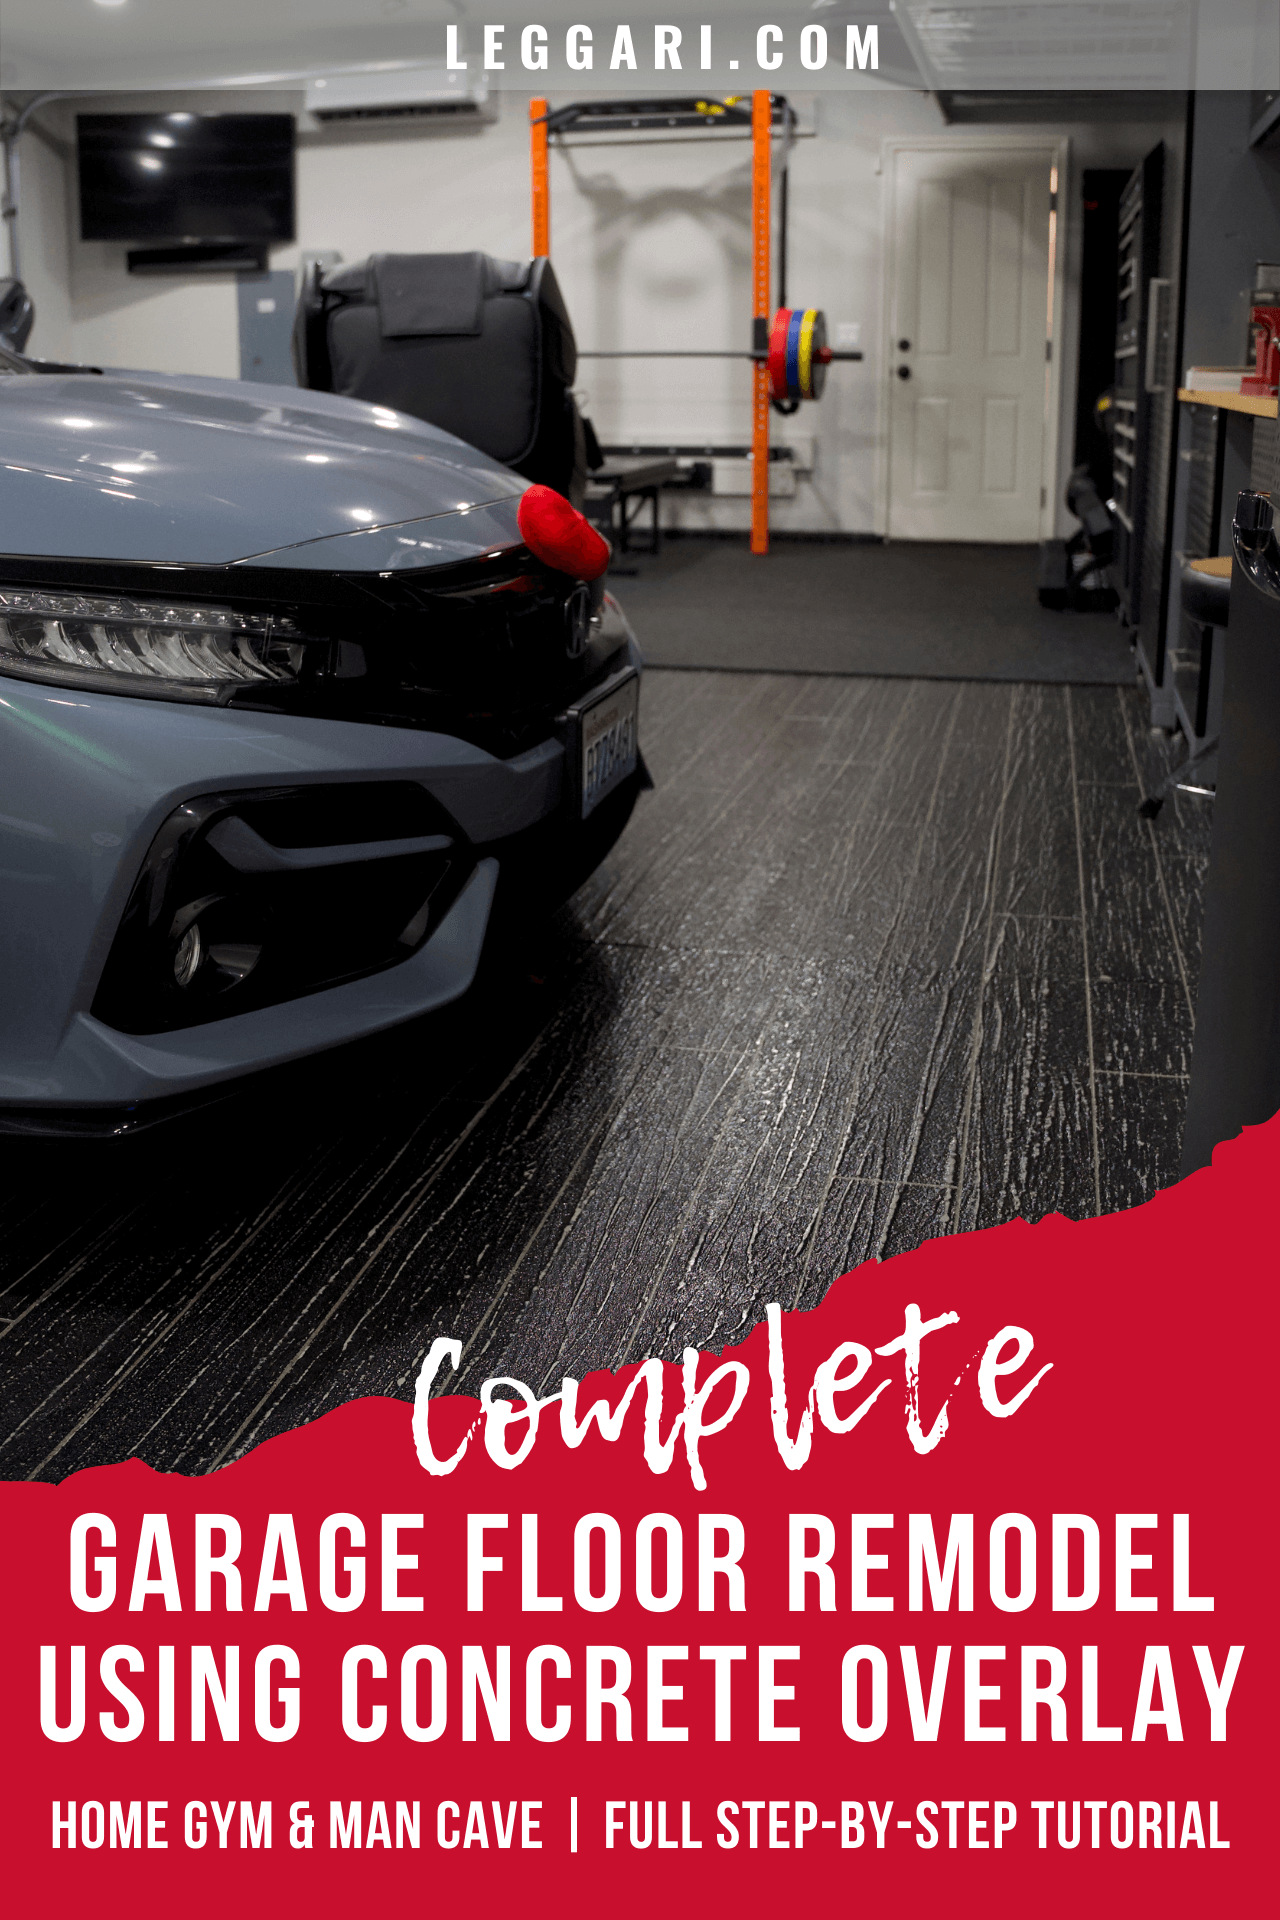
Welcome to the Learning Center #LeggariNation! Today we’re showing you an epic garage transformation as we install one of our Hardwood Overlay Kits to give this garage the perfect look.
The owners wanted the floors to match their home gym and some new gym equipment. The results were even better than they expected.
We’ve outlined the entire process on this page or you can watch the complete video tutorial on our YouTube channel.
Step 1: Patching Cracks and Chips in Your Concrete Floor

We begin by wetting the area we want to patch using a spray bottle filled with water.
Next, we mix up a small batch of our concrete overlay, making the overlay a little thicker than normal so that it’s not runny and adheres well to the area we are wanting to repair.
Using a pool trowel or drywall knife, we smooth out the overlay, blending it into the existing concrete, filling any cracks or chips so they will not be visible on our finished floor.
Step 2: Creating a Perfect Edge Under the Garage Door

We begin with the garage door closed, marking the edge of the inside seal with a few small pieces of tape. Next, we open the garage door and add a full line of tape about ½ inch behind our marked edge.
his allows for a completely finished look inside the garage, while not seeing anything outside the garage when the door is closed.
We also take the tape right up to the garage door track to make this area easier to coat.
Step 3: Creating Your Termination Point

For this step, we use an angle grinder with a 4-inch diamond cutting wheel to make a 1/8th inch depth cut to act as a termination point for the overlay.
This acts almost like rebar for the coating since it is going into the concrete. We do this so that when we pull the tape, there is no risk of chipping our edge.
Pro-Tip: Make sure you are wearing safety goggles and a respirator for this step.
Step 4: Measure Out Your Wood Plank Width

You can make your wood planks as narrow or as wide as you like. On this floor, we chose to go with six-inch-wide planks.
We made marks on the floor every six inches for the entire width of the floor.
Pro-Tip: Start making your measurements from the center of the room and work out from there. This will ensure you don’t end up with odd-sized planks at your ends.
Step 5: Laying Out The Filament Tape

At Leggari Products, we use a special filament tape that has fibers running through it to make it extra strong. This allows you to pull the tape very tight without it breaking.
We begin by pulling the long tape lines first and placing them on one side of the marks we made in the previous step. We don’t want to put the tape directly on the marks or they will show through when we’re done.
We run each long strip of tape the entire width of the floor, up onto the stem wall, and onto the actual wall a few inches. Doing this will allow us to easily remove the tape later.
To make the cross lines, we first determine how long we want our planks. On this floor, we chose a plank length of 4 to 6 feet. To ensure the tape properly adheres to the floor, we use a small roller wheel (as seen in the photo).
Pro-Tip: Ignore the saw cuts on the floor when making the cross lines. They may bug you a bit at this stage, but when the whole design is complete, you won’t even notice them.
Step 6: Mixing the Concrete Overlay

Begin by pouring the Liquid Polymer into a large, clean garbage can. With a paddle wheel attached to an electric drill, begin mixing the polymer at low speed while adding the dry concrete overlay.
Mix this thoroughly for two to three minutes. Transfer the mixture to a few 5-gallon buckets for easier application.
Step 7: Prehydrate the Floor and Begin Adding the Overlay

Before adding the overlay, we want to pre-hydrate our floor. Using a standard pump sprayer filled with water, lightly spray the concrete between the tape lines. Try to avoid spraying water directly on the tape.
Wearing spike shoes or cleats, begin pouring the mixed overlay onto the concrete. Since we are also coating the stem wall, we made sure to get overlay up there as well.
Next, we use our Leggari Squeegee to spread the overlay mixture at the perfect depth for our wood grain look.
Pro-Tip: The key to hydration is that you want it damp, you don’t want it puddling.
Step 8: Use the Pool Trowel to Create a Wood Grain Finish

After spreading the overlay with the squeegee, we begin using the pool trowel to create our wood grain look.
Holding the pool trowel flat, we slide the trowel in the direction of the lines we taped on the floor. The size of the crushed marble in our concrete overlay mix, along with the way the pool trowel is curved slightly on the edges makes for a perfect wood grain pattern.
Continue with Steps 7 and 8 until you’ve covered the whole floor.
And don’t worry if your wood grain pattern is not perfect at this step. It will all come together after sanding and staining.
Step 9: Tape and Plastic to Prepare For Staining

For this next step of the project, we are going to put plastic up all around the garage as we prepare to add the stain.
We want to make sure that we really do a good job of applying the plastic. As a rule of thumb, whatever isn’t covered by the plastic or tape, will get stained.
We use rolls of plastic to cover the walls and door up two to three feet from the floor. We also make sure to tape any other areas we don’t want stained.
By using plastic, as opposed to holding cardboard, the next part of the project moves very quickly.
Step 10: Applying The Stain

We begin by mixing up the Leggari stain and then adding the concrete overlay pigment, thoroughly mixing the two products with an electric drill with a paddle wheel attached.
Next, we add in two gallons of isopropyl alcohol and continue mixing. Once everything is thoroughly mixed, we can transfer the mixture to a tank sprayer and we are ready to begin the application process.
In order to apply the stain, we use a fine mist setting on the sprayer, making sure to first cover the perimeter before covering the rest of the floor.
Step 11: Sanding To Achieve the Wood Grain Effect
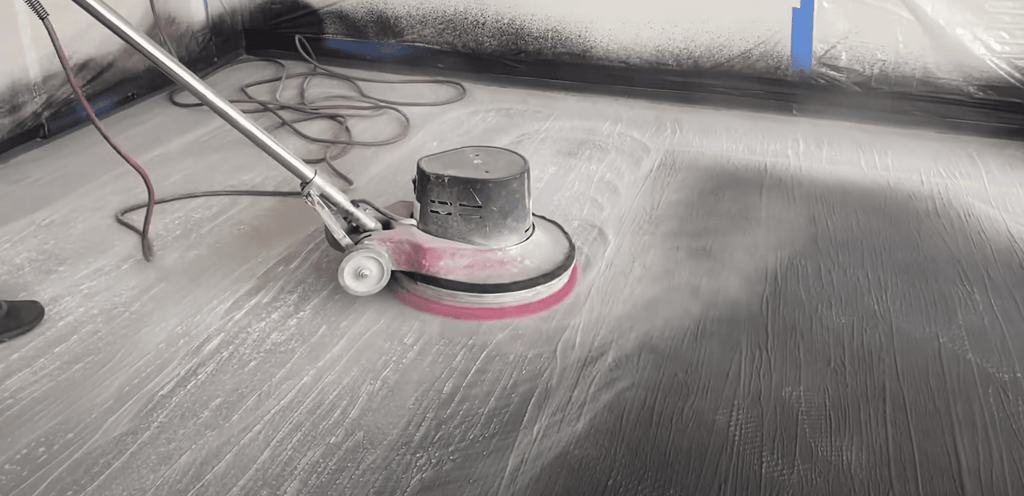
For this step, we rented a low-RPM floor sander from a local tool rental company and used 80 grit sandpaper to sand off the tips of the overlay, exposing the wood grain pattern.
This is what gives us the wood grain effect. We have the stain in the low parts and the gray overlay comes through, giving us that two-tone look.
After a thorough sanding, we use a shop-vac to clean up the dust giving us the first glimpse of this outstanding new floor.
Step 12: Sawcut the Control Joints
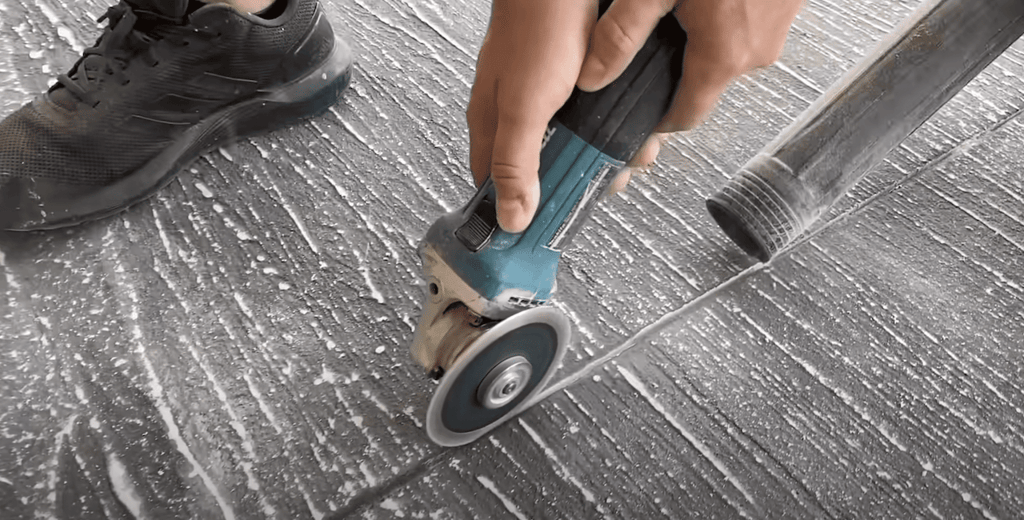
An important step that many people overlook when doing an overlay floor is to sawcut the control joints back out.
In this step, we use a simple cutting tool with a good blade to re-cut all of the existing control joints in the concrete. Control joints are super important when doing concrete work because they allow for movement caused by temperature changes and drying shrinkage.
Pro-Tip: Have a helper follow behind your cutting tool with a Shop-Vac. This will shoot about 90% of the dust back into the vacuum, making cleanup much easier.
Step 13: Pulling Off Tape and Plastic
Next, we will begin to remove all of the plastic that we had on the walls. The homeowners appreciated us doing this because their white walls were kept very clean.
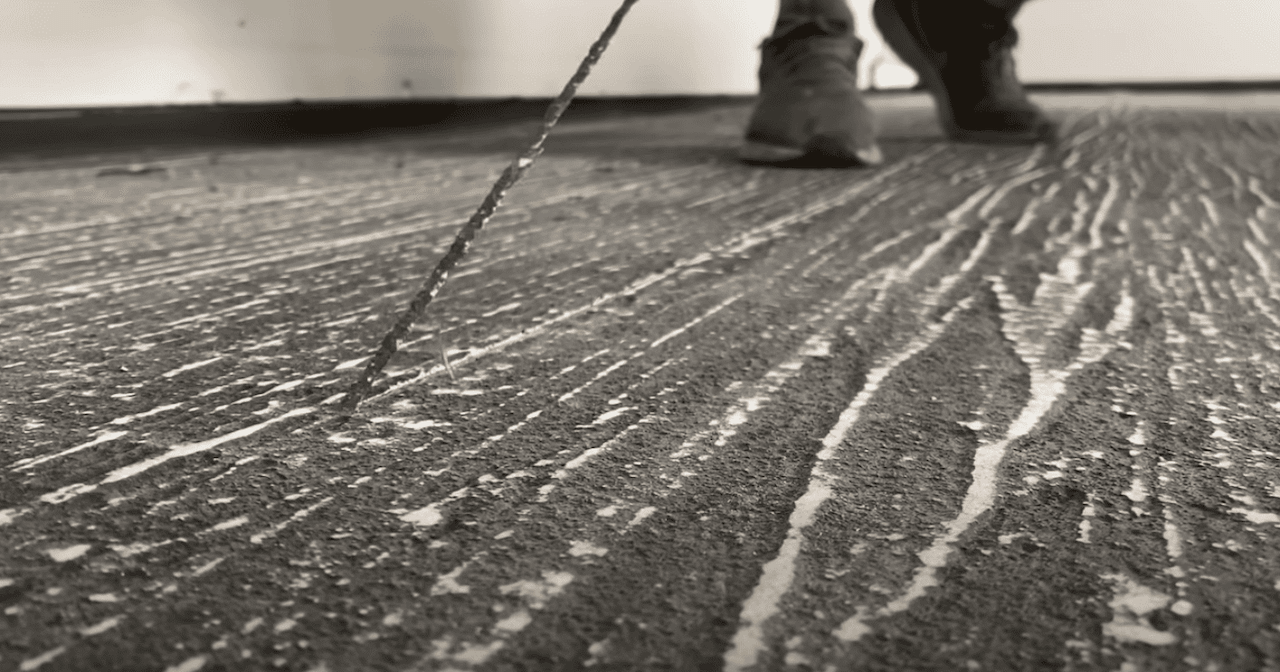
After that, you can begin to remove the tape that creates the grout lines. One of the reasons why we had the filament tape go up to the wall is so that when it came time to peel it off, it was really easy to find. Otherwise, you will spend a lot of time trying to find those grout lines.
Notice in the image above just how easy the filament tape is to come off of the floor previously coated over, without ripping. This is the only tape we have found to be able to sustain this process and give the best outcome.
Notice in the image above just how easy the filament tape is to come off of the floor previously coated over, After doing this step, we recommend using a leaf blower to easily clean out the entire floor of any excess dust or materials, getting it ready for the next step.
Step 14: Top Coat
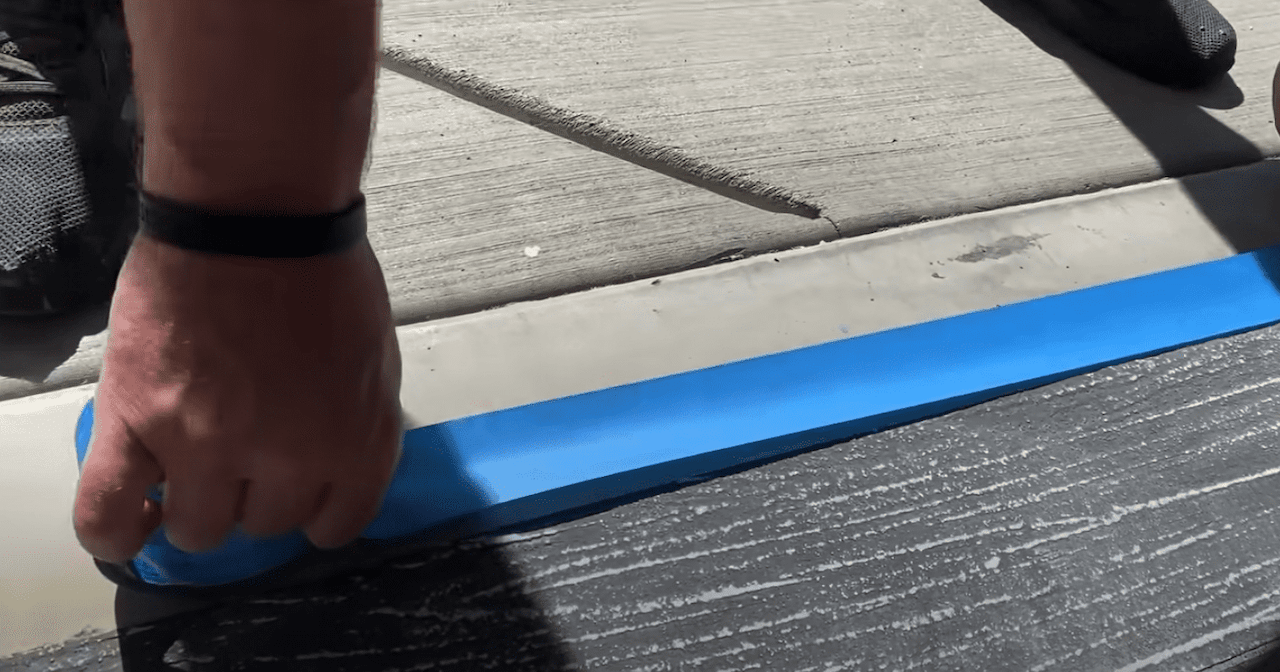
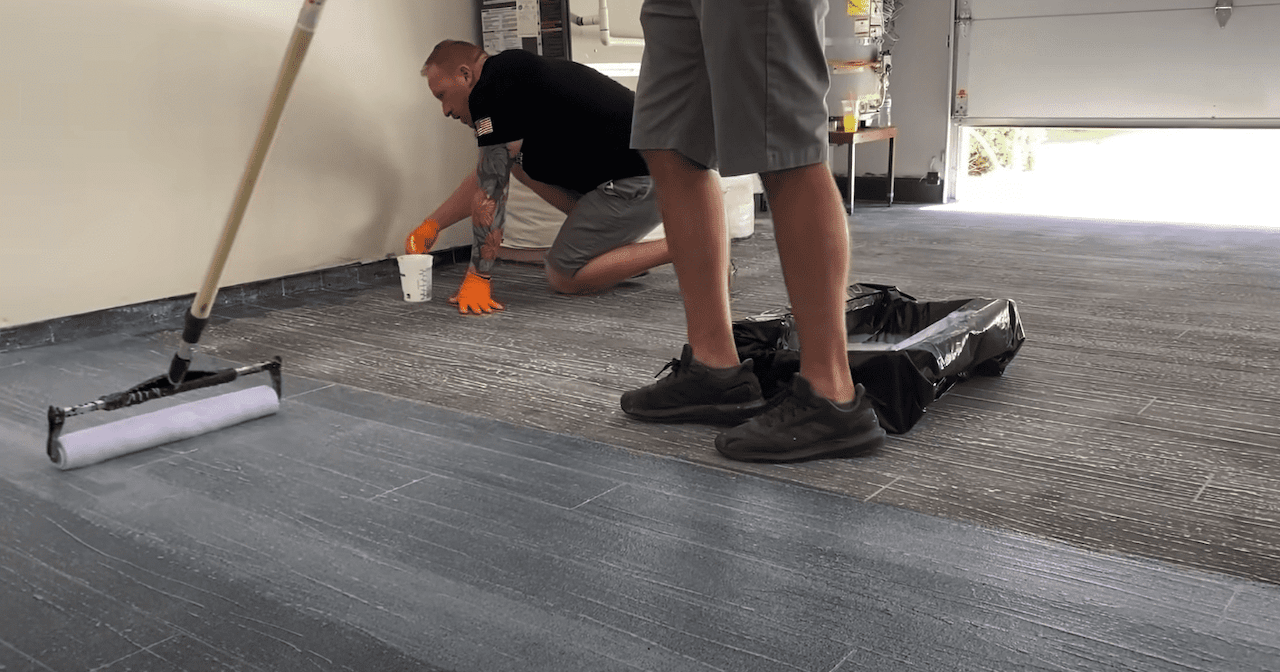
The first thing to do in this step is to reapply the tape on the front of the garage. We are going to seal the floor with the WB urethane, or gloss urethane. We want to tape off any edges to protect uncoated areas.
After properly mixing the urethane coat, one person can begin to use a small paintbrush to coat near the edges while the other person uses a large paint roller doing the rest of the floor.
You will add a total of two coats of this Urethane gloss. After applying the first onto the floor, allow 24 hours (no more) before applying your second urethane coat. Which will be done, exactly the same as the first.
Final Look:
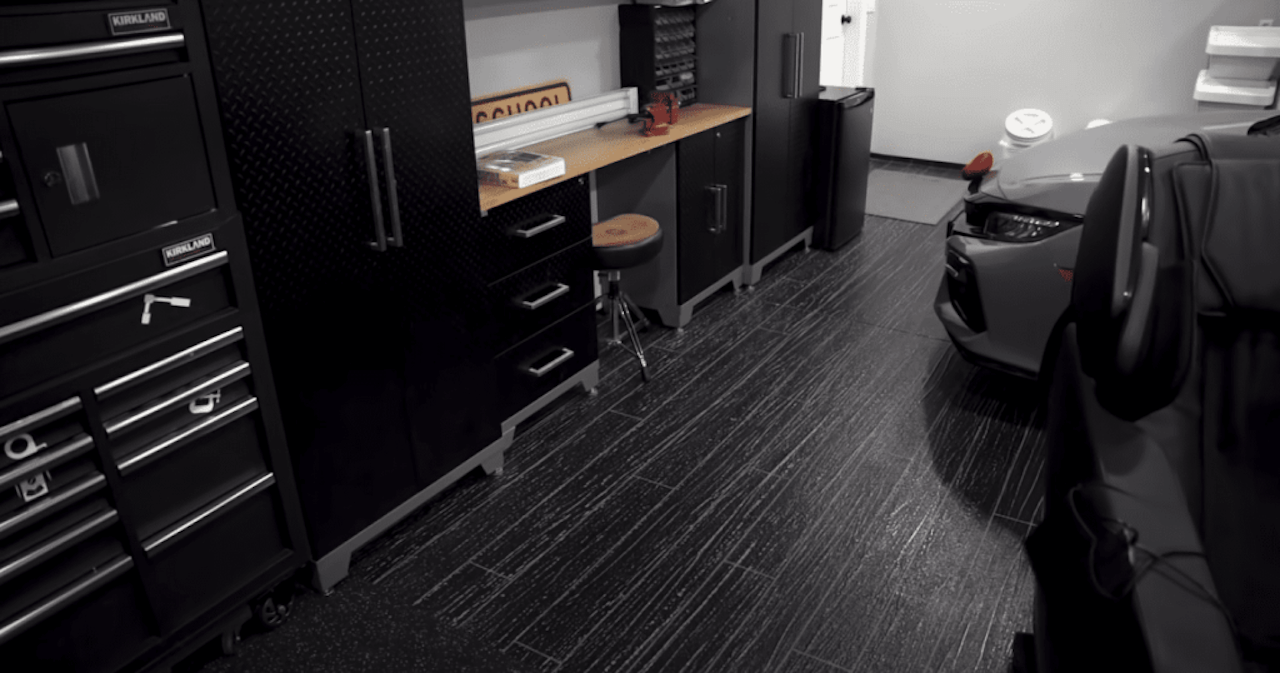
Check out the new look of this garage remodel! The entire look of the garage was changed simply by changing the floors with our Leggari Concrete Overlay kits.
Remember, when you purchase ANY Leggari Kit, you receive detailed video tutorials taking you step by step through every stage of your application.
