
One question that many people ask themselves when repairing cracked flooring is if filling cracks before epoxy is a necessary step. The answer is yes. It is crucial to fill each floor crack to form a proper seal.
After your crack repair dries, your floor is ready to be sanded for an even floor surface before applying your top coat of epoxy floor coating. Sanding your floor surfaces will also help to hide the cracks after the epoxy is applied.
In this article, discover the steps necessary for filling cracks before applying epoxy, why it’s important and how to do it most effectively.
What Exactly Is Epoxy Flooring?
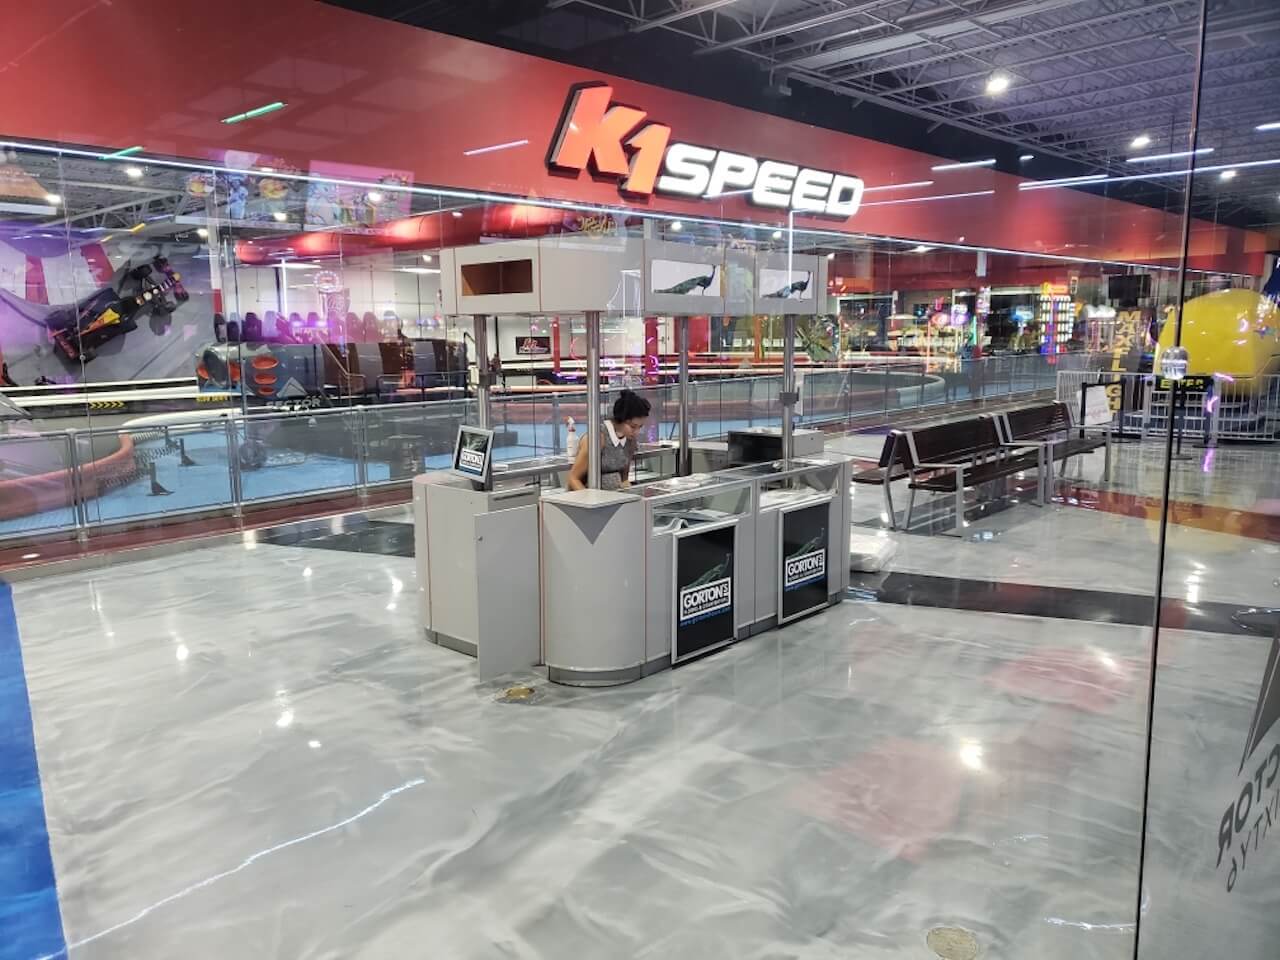
Epoxy is a floor covering that involves coating the floor with synthetic resin. This floor coating process involves several coats of poured resin over a concrete base. Epoxy flooring is an excellent choice for concrete garage floors, basements, offices, or any other room in your home.
Floor coverings made of epoxy resin are ideal for high-traffic areas because they are durable, resistant to wear, and require little maintenance and cleaning to maintain their luster for years to come.
Thicker coatings of epoxy offer the most amount of durability. However, thicker flooring also takes more time to cure. Therefore, keep this in mind if you are on a time crunch to complete your flooring project.
Once the layers of resin dry, the epoxy floor covering acts as a protective barrier that protects your floors and adds beauty and character to any room. Epoxy floor coverings come in several varieties and can be customized to fit your preferences, style, and room decor, such as:
- Various color choices
- Different patterns and styles
- Several effects, such as sparkles, specs, or swirls
- Your choice of top coat, such as glossy or matte
Preparation for Installation of Epoxy Floor Covering With Crack Repair
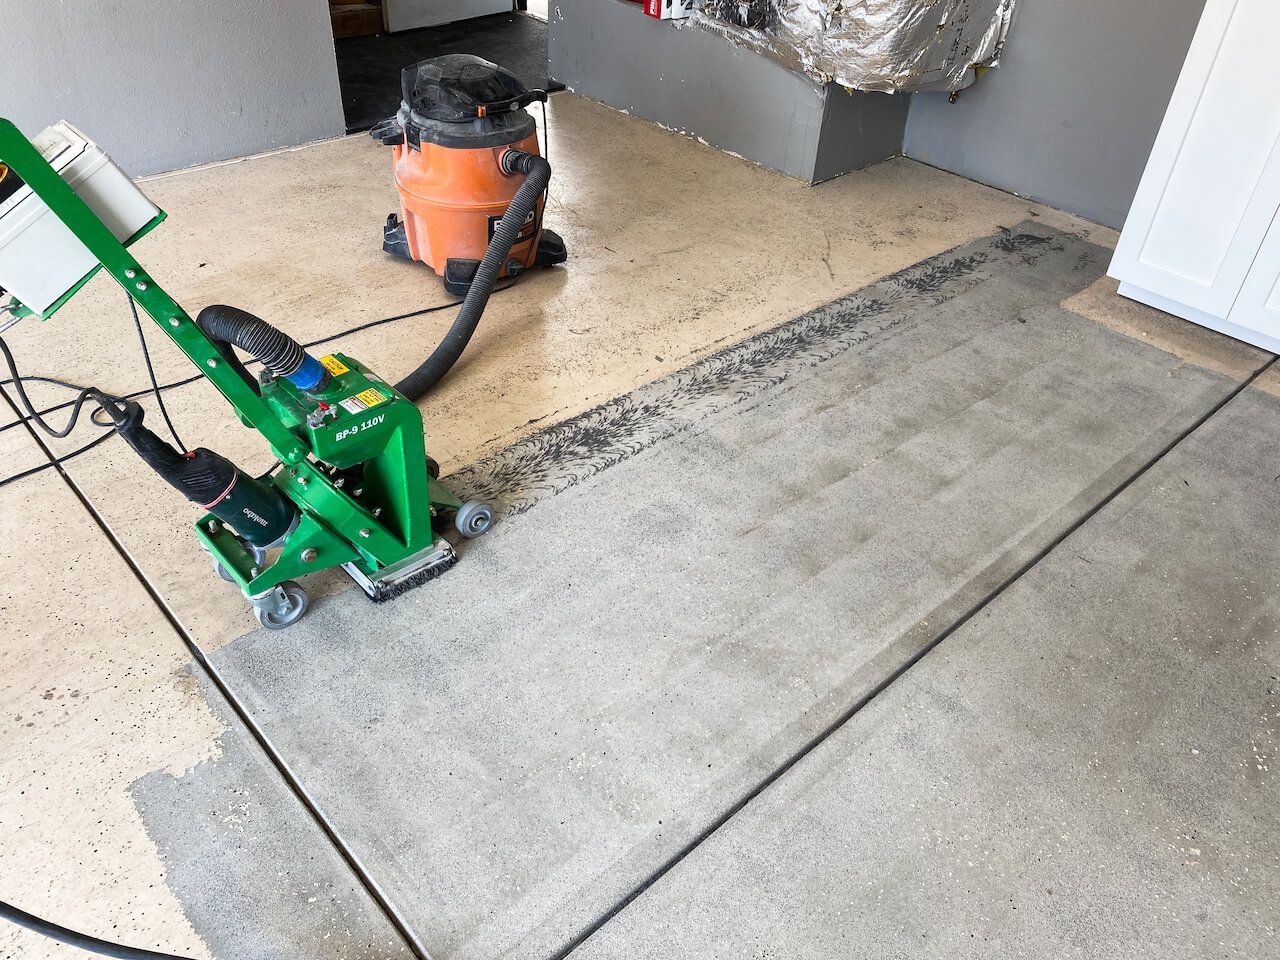
Shot blasting is an important step for preparing your floor surfaces. Shot blasters can be rented from local rental companies and help cut down on your preparation time over simply grinding the concrete floor. This step removes the top level of aggregate and gets us ready to apply our crack filler.
Preparation of your floors by filling all cracks before epoxy coating is a crucial step to the overall look of your completed project. Skipping this step can lead to cracked floors down the road, bubbles in your epoxy, or uneven flooring.
Taking your time to ensure the patch or filled cracks are sanded and well-prepared is the ticket to a smooth finish with fewer bubbles and imperfections after the epoxy has cured. Although preparation seems like a waste of energy, you will thank yourself later when you stand back and admire your finished job.
Here is our list of steps to follow when preparing your floor surfaces for epoxy installation:
Step 1: Locate the Cracks on Concrete Floors
Repairing cracks in your concrete is a crucial early step to ensuring your epoxy floor coating is smooth and bubble-free and will not peel off with wear and tear.
First, assess your concrete floor to determine where the cracks are. Most cracks result from the concrete shrinking during the drying process, defects in the concrete, or improper curing times. Once you have determined where your cracks are, you can begin to fix them with the appropriate material.
Again, we can not stress how crucial filling cracks in your surface is if you are hoping to achieve a seamless surface.
Step 2: Select Your Crack Sealer
Concrete is a popular floor base because it offers a long lifespan and durability. However, over time concrete is known to form cracks. Some of the most common causes of cracks in concrete include:
- Water damage from rain and snow settling on your concrete
- Damage due to weather conditions, such as frost or leaks in your foundation
- Shrinkage and cracks forming from the concrete curing
- Uneven surfaces that may cause a thin layer of concrete in certain areas
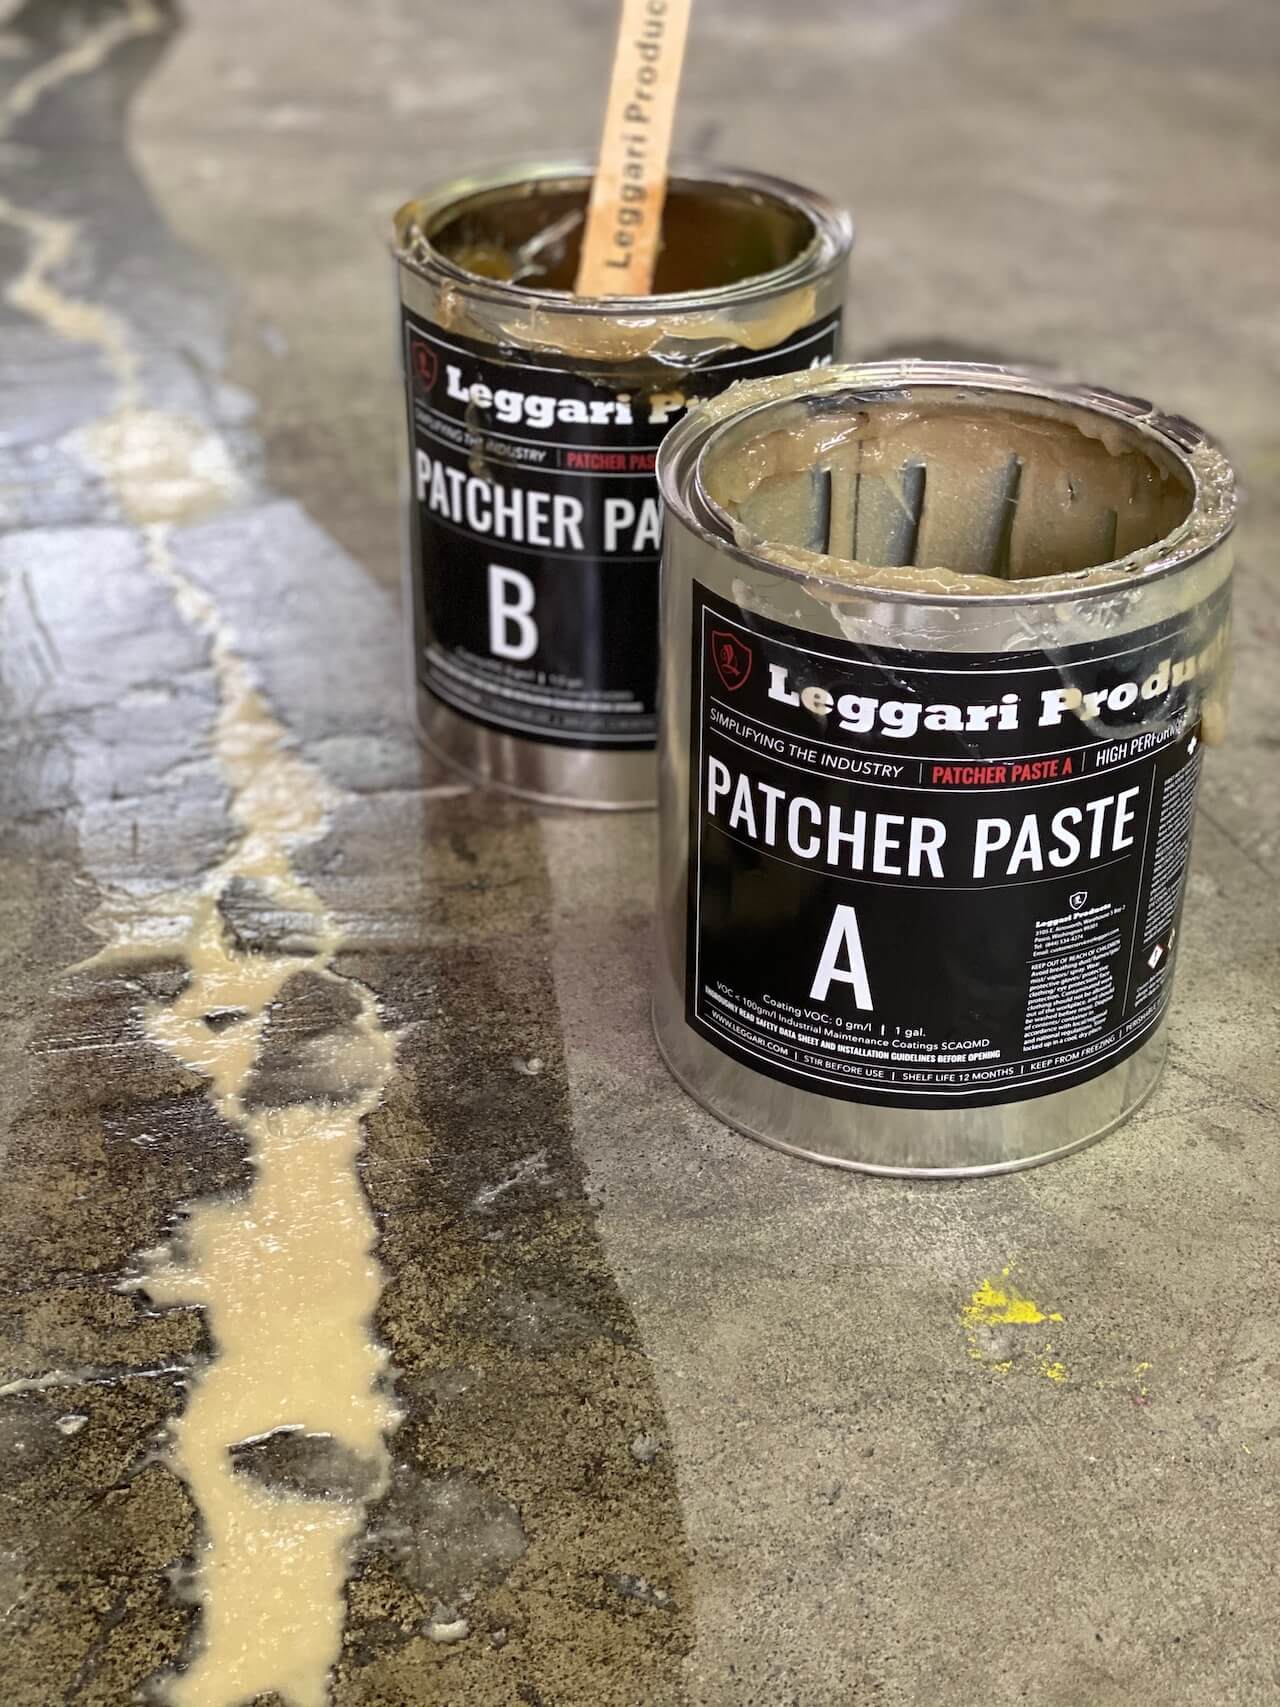
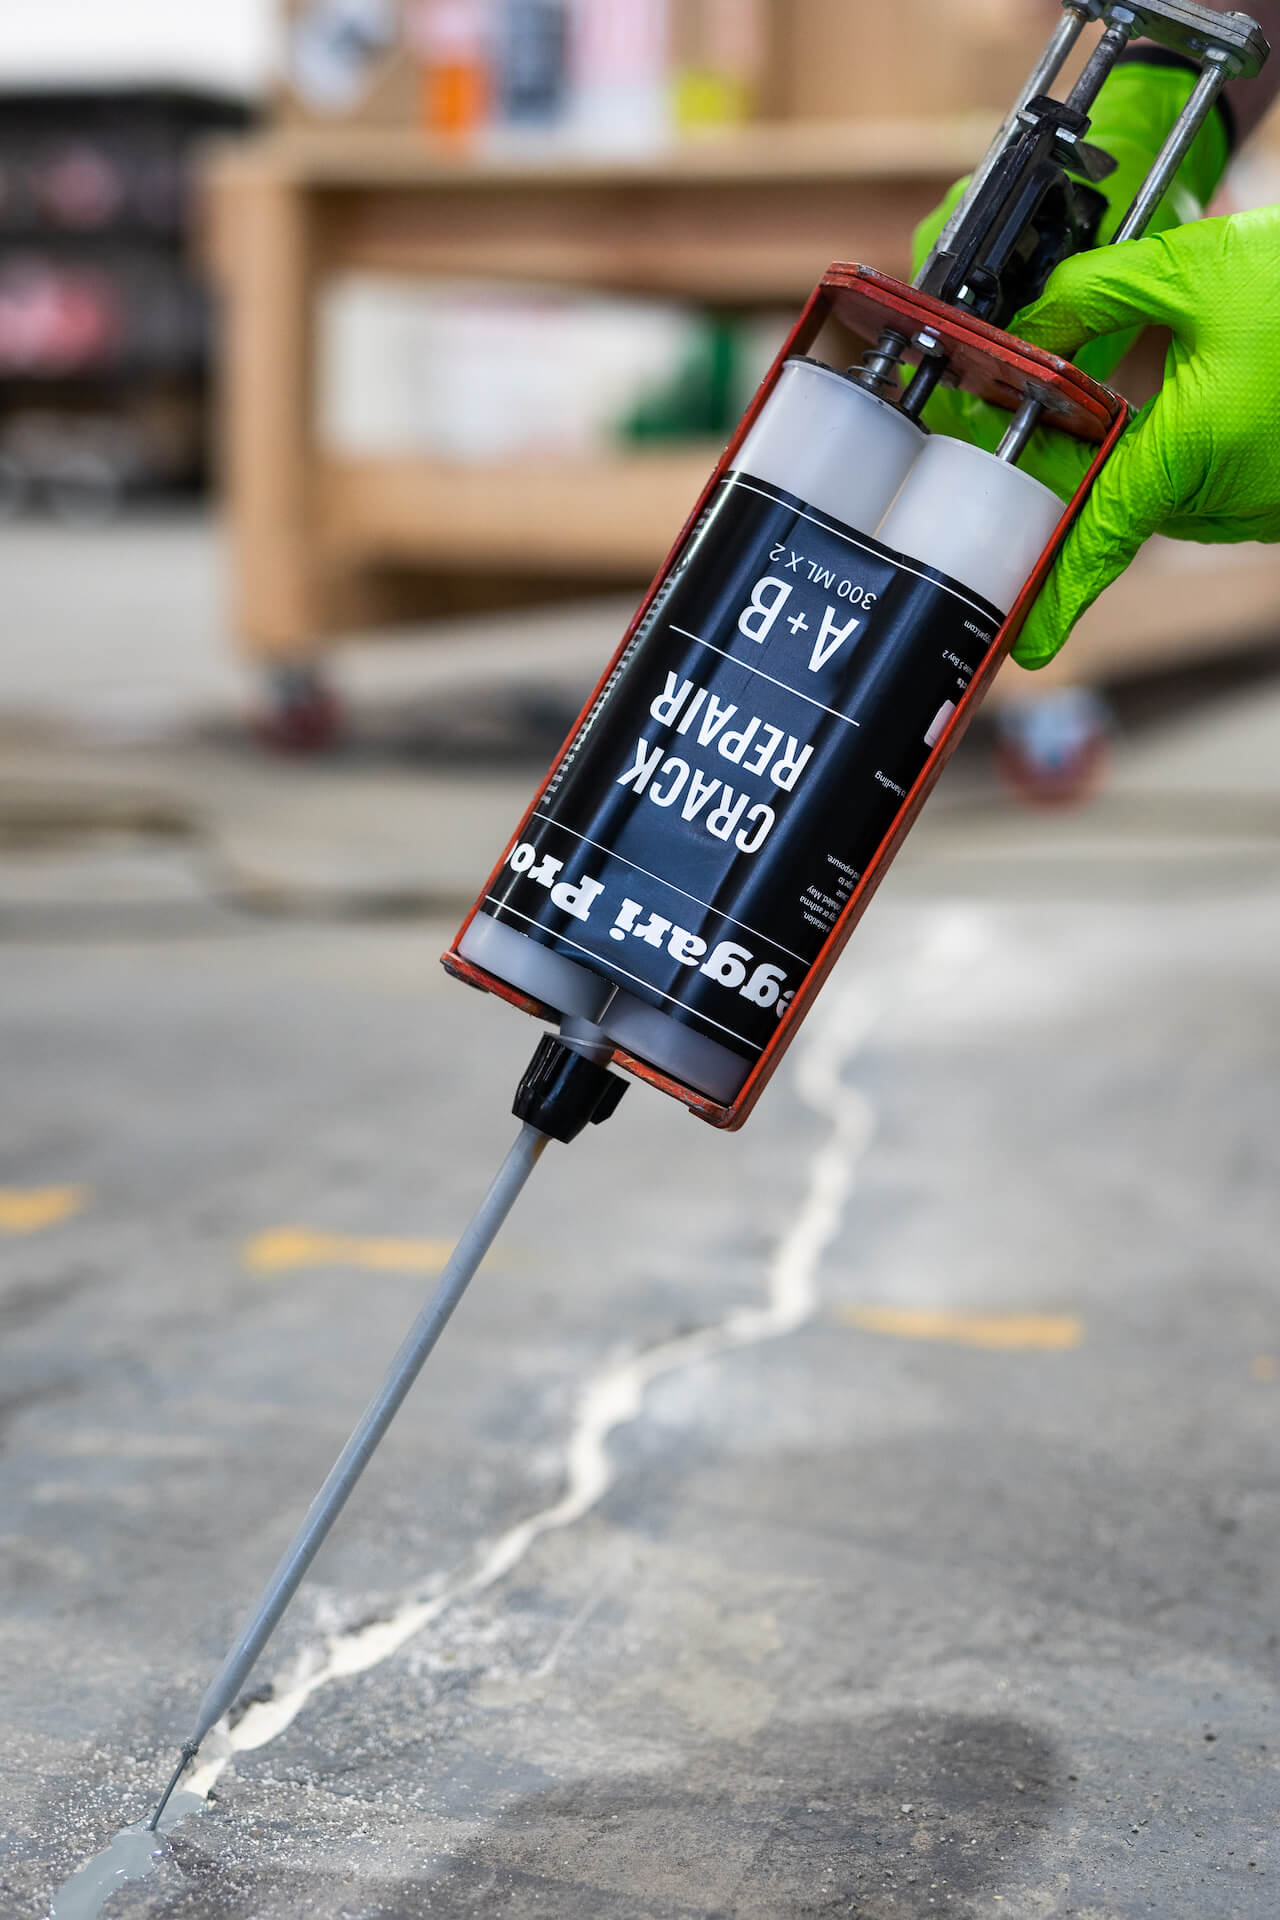
Thankfully, cracks in your concrete can easily be filled with the proper crack filler. Patcher Paste is a resin-based crack repair product that offers excellent results for fixing damaged floor surfaces when used prior to applying the epoxy.
This easy-to-use product is suitable for filling cracks and holes in concrete surfaces and cures smoothly within 24 hours.
Other crack sealants are also sold on the market, such as liquid cement crack fillers, Polyurethane crack repair, caulks, quick-setting cement, dry-mix cement, and patching compounds.
Step 3: Filling Cracks Before Epoxy – Sealing The Cracks
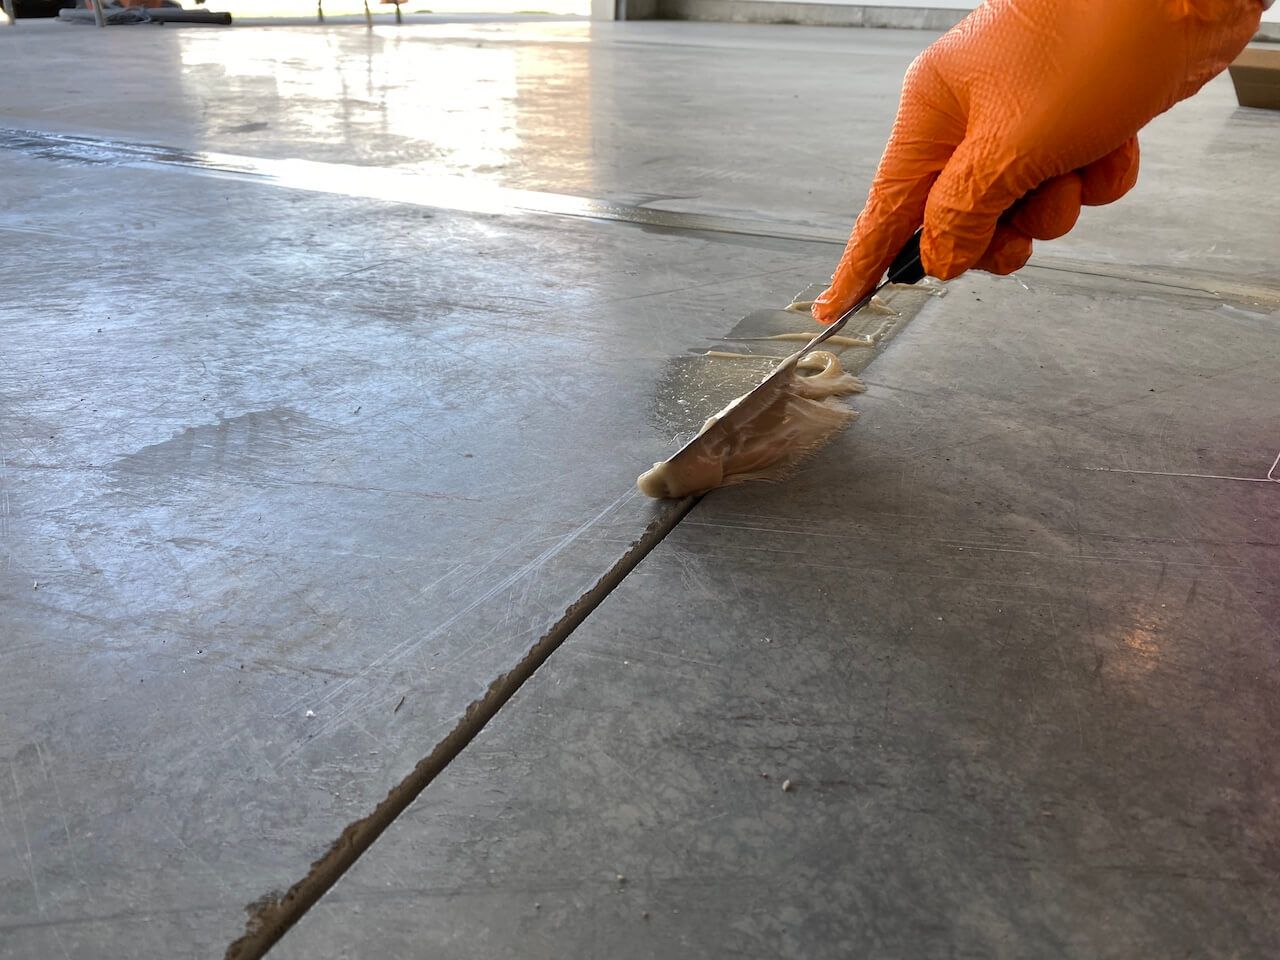
Before sealing your cracks, ensure your surfaces are free from dirt, debris, and moisture trapped in the holes and cracks. We recommend blowing out large holes before sealing your cracks. This is another crucial step to ensure the epoxy sticks to the floor surface.
Next, evenly apply your desired crack filler and wait for it to cure. Depending on the sealant you choose, drying times may vary.
Most commercial sealants take 24 hours to dry completely. If in doubt, check the product’s description labels to ensure you allow sufficient time for the sealant to cure before advancing to the next step.
Step 4: Clean and Smooth The Surfaces
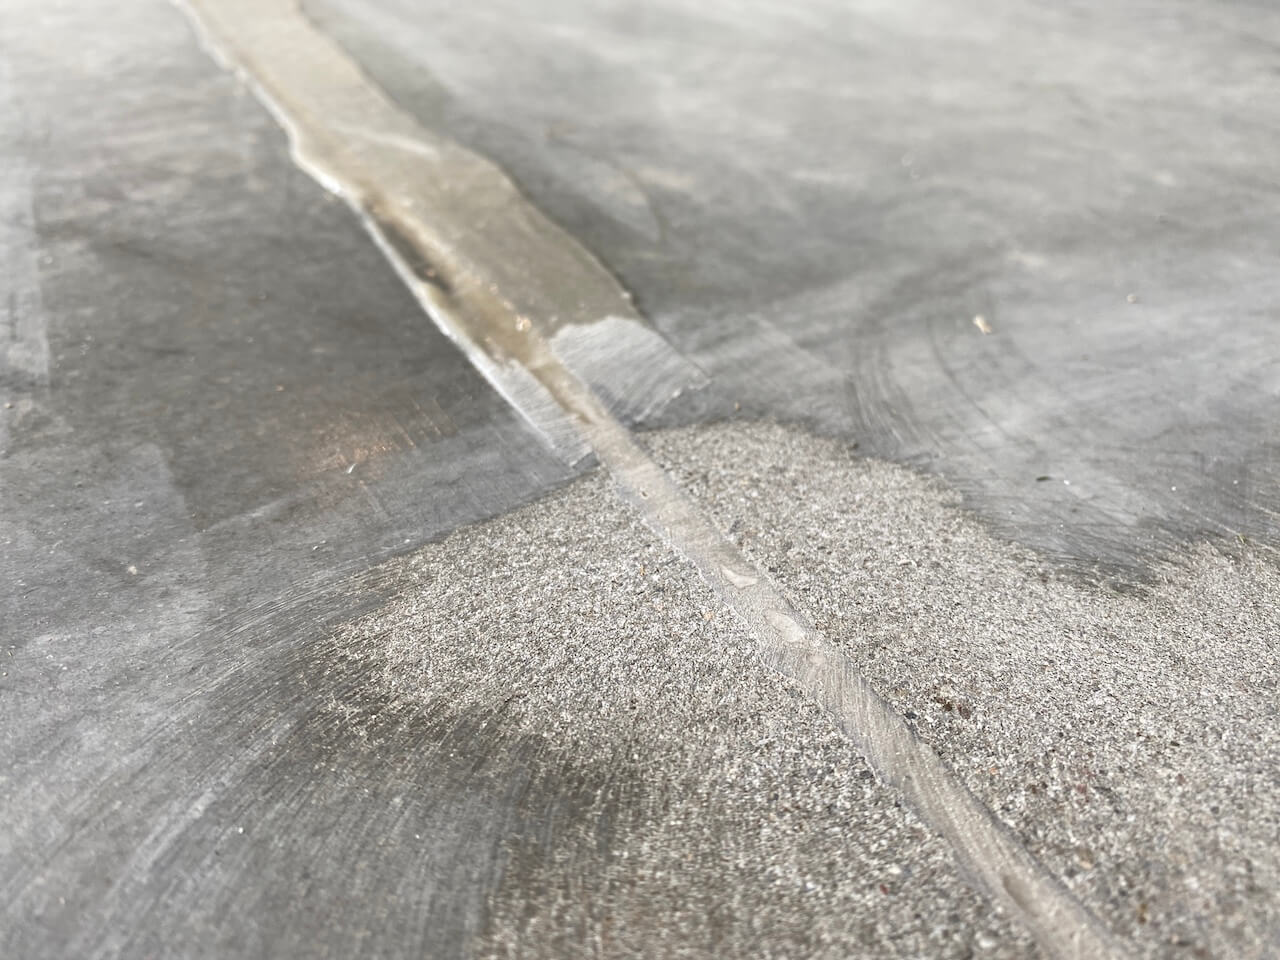
Once your crack repairs have cured, sand the uneven material off so that the surface is smooth and ready for the next step of applying the epoxy.
Smoothing the surfaces is very important if you are going for a seamless look on your concrete garage floor.
Before applying your epoxy, sweep the area off so that it’s free from dust and debris. Using a shop vacuum is also a great way to ensure all loose dust is removed from the concrete.
The entire floor surfaces should also be washed with warm water, rinsed, and dried thoroughly.
You are now ready to apply your epoxy onto your cleaned floor surfaces.
How To Apply an Epoxy Floor Covering for a Professional Finished Look
Now that you have finished preparing your site, you can begin the process of applying the epoxy. We have composed the following (simplified) steps to illustrate the process of installing your new epoxy garage:
Note: When you purchase a metallic epoxy floor kit (or any of our other kits), you will receive detailed tutorial video instructions that will show you every step of the process.
Step 1: Mix the Epoxy
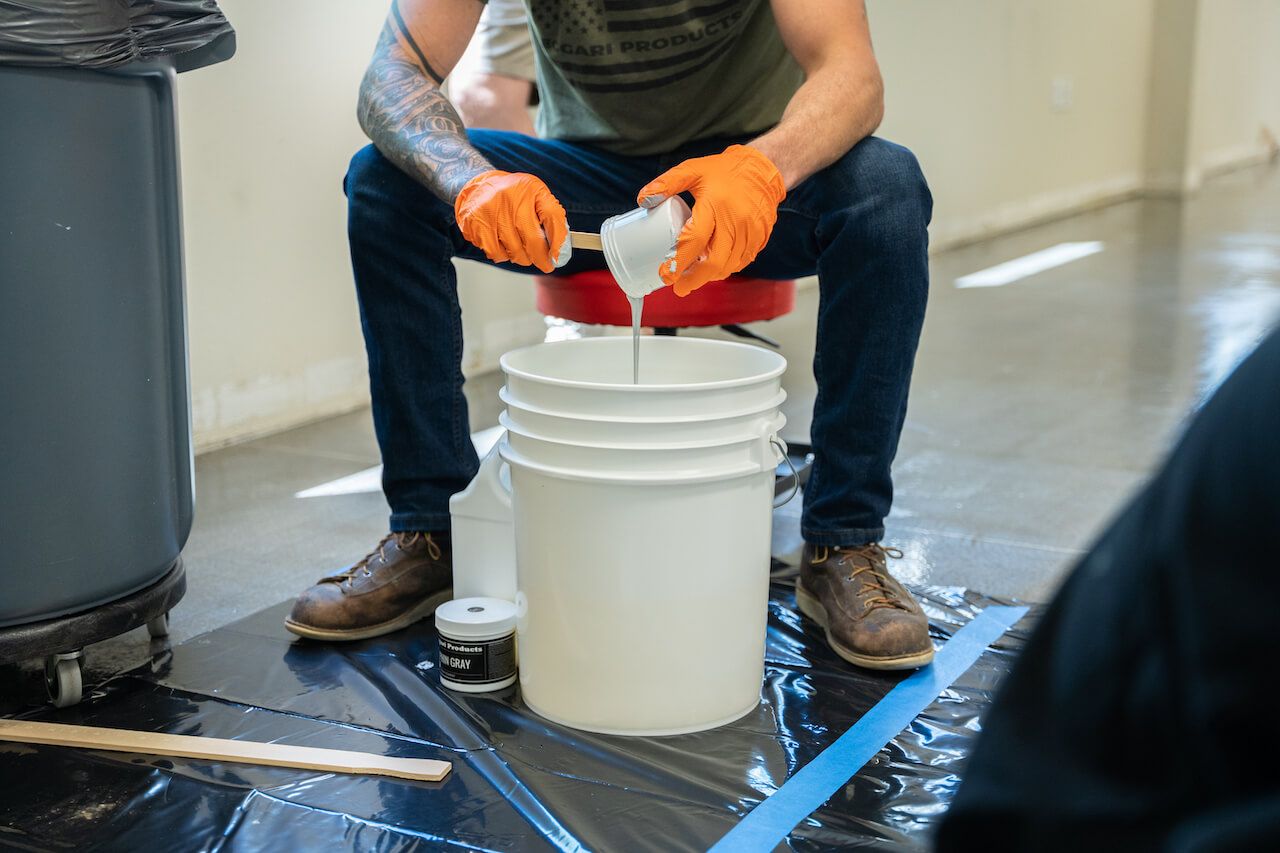
Epoxy comes in two parts, the catalyst (hardener) and the resin. Ideally, you should mix the two components immediately before applying the mixture to your floors. Start by stirring the resin, then slowly pour the hardener into the paint mixture while continuing to stir constantly.
Once the entire container of catalyst has been poured into the resin, continue to stir the mixture until it is thoroughly mixed. Then, replace the lid on the container and let the mixture sit for the required time indicated in the product description.
If you plan on using colored chips or flakes to your mixture, do not at them quite yet. We will let you know later in the article when it is best to add your sparkles to the mixture.
Step 2: Apply The Epoxy
You are now ready to apply your epoxy coating to your flooring. After you begin the process, keep in mind that you must move fast because you have approximately two hours to complete the job before the mixture begins to harden. This time is shortened in hot weather because the epoxy dries faster in the heat.
Ensure your workspace is well-ventilated during the entire application process to prevent breathing in toxic fumes, feeling faint or dizzy, and potentially becoming ill.
We recommend using an appropriate squeeqee to spread a thin layer of epoxy on your floor. Work in small sections at a time, keeping the edges wet by continuously going over your previously applied layers of epoxy.
Step 3: Apply Chips or Flakes
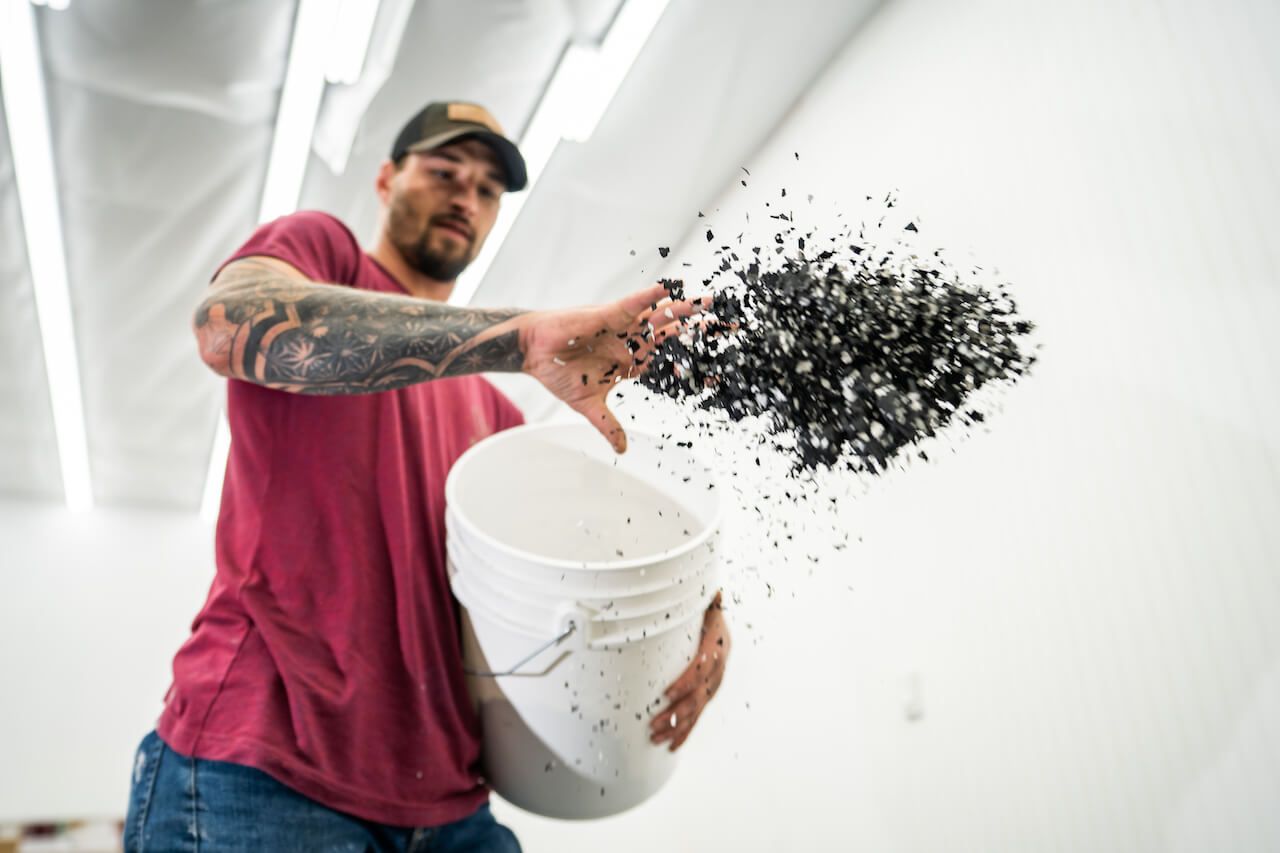
When you are finished applying the first coat of epoxy to the entire floor, you can then add your speckles or chips by sprinkling them on top of the flooring by hand. Having a helper can help to speed up this process.
Step 4: Allow Your Floors to Dry
We recommend waiting at least 24 hours or more before applying your top coat of epoxy over the layer of flakes. Then, allow the second coat of epoxy to cure for 72 hours before walking on the floor surfaces or placing furniture on your floor coverings.
Step 5: Add Your Topcoat
After your first coat of epoxy has cured for at least 24 hours, you can spread on your top layer of finish for added thickness and sheen. For easy application, we recommend using a squeegee or roller to spread your epoxy top coat. A squeegee provides the best outcome to the application and leaves the surface smooth and bubble free.
Allow the second coat of epoxy to cure for 72 hours before coming in contact or walking on the floor surfaces. Once your second coat of epoxy is poured, the flakes will be covered over by a clear coat of finish. Topcoats come in two choices of finish:
- Glossy – Provides an easy-to-clean high-gloss finished look
- Matte – Offers a non-glossy finish that more easily hides imperfections
Preparation for Applying Epoxy to Garage Floors
As stated earlier, preparation is always crucial when installing epoxy on any floor surface. Here are the appropriate steps necessary to prepare for the installation of epoxy on your garage floor:
Step 1: Prepare the Concrete Floor
Clean your garage floors with soap and water, and repair any cracks or holes. Alternatively, you can use a pressure washer to remove any loose dirt, stains, or debris set on the floors.
It is also recommended that you shot blast or diamond grind the top layer of the concrete before the coatings are applied. This ensure the material will bond with the substrate and should elimate repairs or fixes needed in the future.After your surfaces have been cleaned and dried, you can apply epoxy primer to help the epoxy stick better to the surfaces. Primer also helps to enhance the durability of the flooring and make it appear more lustrous. If you live in a moist climate, a vapor barrier may be needed as well.
Step 2: Mix the Epoxy
It is now time to mix your resin and your hardener to form the epoxy mixture, stirring as you mix. Once your epoxy has been mixed as per the manufacturer’s instructions, it is time to move on to the next step.
Step 3: Applying the Epoxy

When you are ready to apply the epoxy to your garage floors, we recommend using a squeegee or a roller for ultimate results. Using a brush is highly discouraged because it makes unsightly streaks in your finish, and the hairs can get stuck in the epoxy.
We recommend starting the job in one corner of the garage and working your way around the area in small sections until the job is complete. Curing the epoxy usually takes at least 24 hours before the epoxy dries but we don’t recommend placing heavy items on the floor for at least 72 hours.
How To Take Care of Epoxy Floors
Taking care of your new professional-looking epoxy floors is one of the simplest parts of the process. Simply run the vacuum over the floor or use the broom to pick up loose dirt. Then, use a regular mop with mild soap once weekly to maintain the floor’s luster.
Here are some other helpful suggestions for keeping your new epoxy floor in tip-top shape:
- Avoid using strong chemicals to clean your epoxy floors
- Consider using mats at entranceways to help collect dirt
- Do frequent spot cleaning to keep your epoxy floors their cleanest
- Remove small stains by gently scrubbing with a sponge
Final Thoughts About the Importance of Filling Cracks in Epoxy Floors
When done correctly, filling cracks in epoxy flooring helps to keep your surface smooth and durable for years. However, if you do not take the time to prepare your surfaces for filling cracks before epoxy, you run the risk of your new epoxy flooring developing bubbles or unsightly cracks. So, be sure to follow the steps above to ensure the best results possible.If you have any questions, contact us at Leggari Products. We would be more than happy to address any concerns regarding resin, floor coverings, Patcher Paste, top coats, primer, or any other inquiries you may have.