


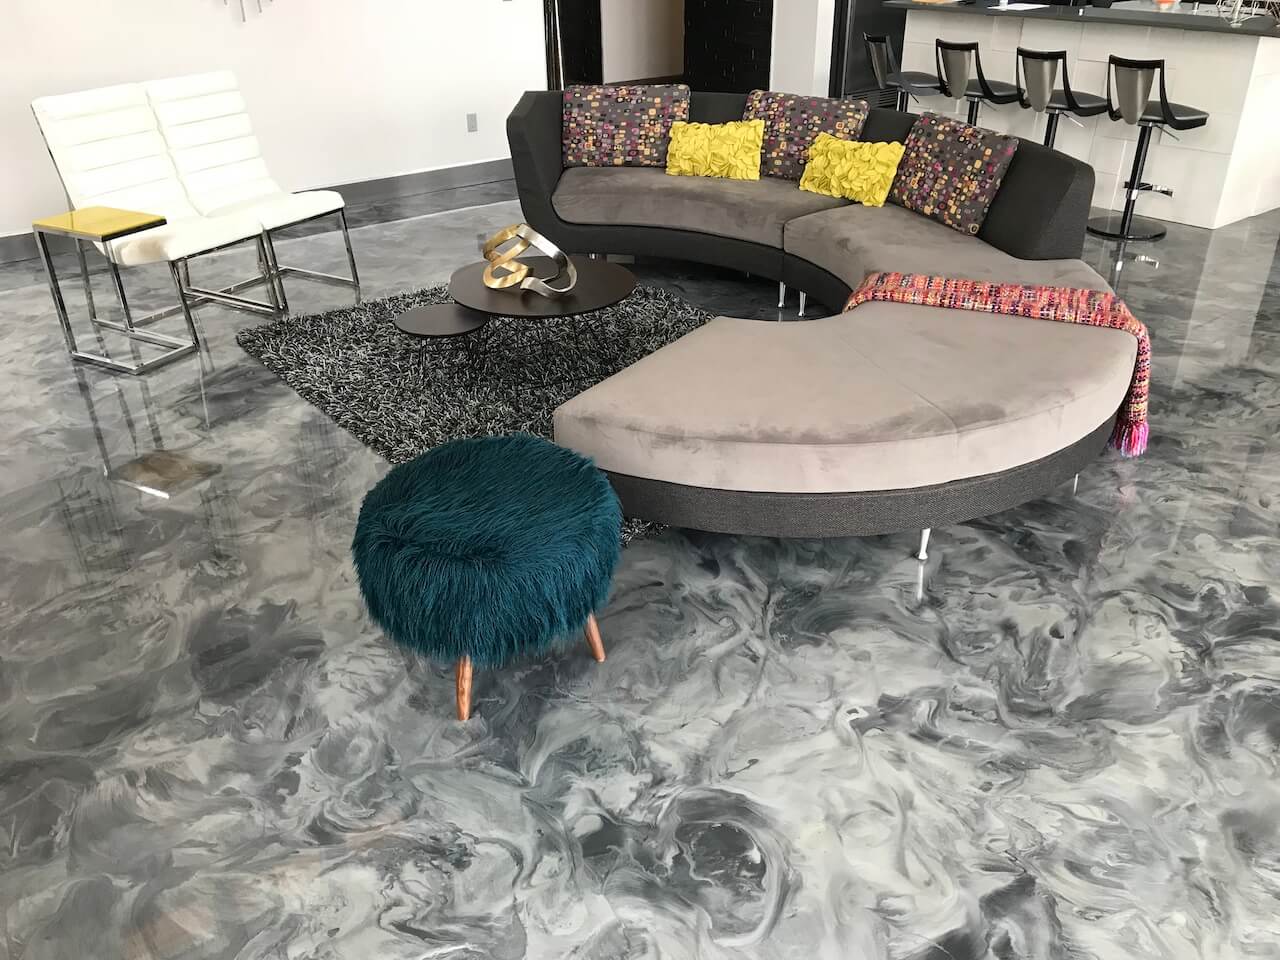
If you’re looking to give your garage floor or basement floor a makeover, epoxy flooring is a great option. It’s durable, easy to clean, and can resist stains and spills. Plus, it can give your space a whole new look.
Creating an epoxy floor is a popular do-it-yourself project. However, if you’re not careful, the results of your DIY epoxy floor can be less than satisfactory.
In this Leggari Learning Center article, we’ll walk you through the steps the pros take to create a beautiful and durable epoxy coating. We’ll also share some tips for avoiding common mistakes. So whether you’re planning on installing one of our epoxy kits yourself, or hiring someone else to do it for you, make sure to read on!
What is epoxy flooring and what are the benefits of installing it in your home or business?
Epoxy flooring is a type of floor coating that is applied in a two-part system. The first part is a resin, and the second part is a hardener. When mixed together, these two components create a durable, chemical-resistant surface. Epoxy coatings are popular in garages and other high-traffic areas because they can withstand a lot of wear and tear. They’re also easy to clean and maintain.
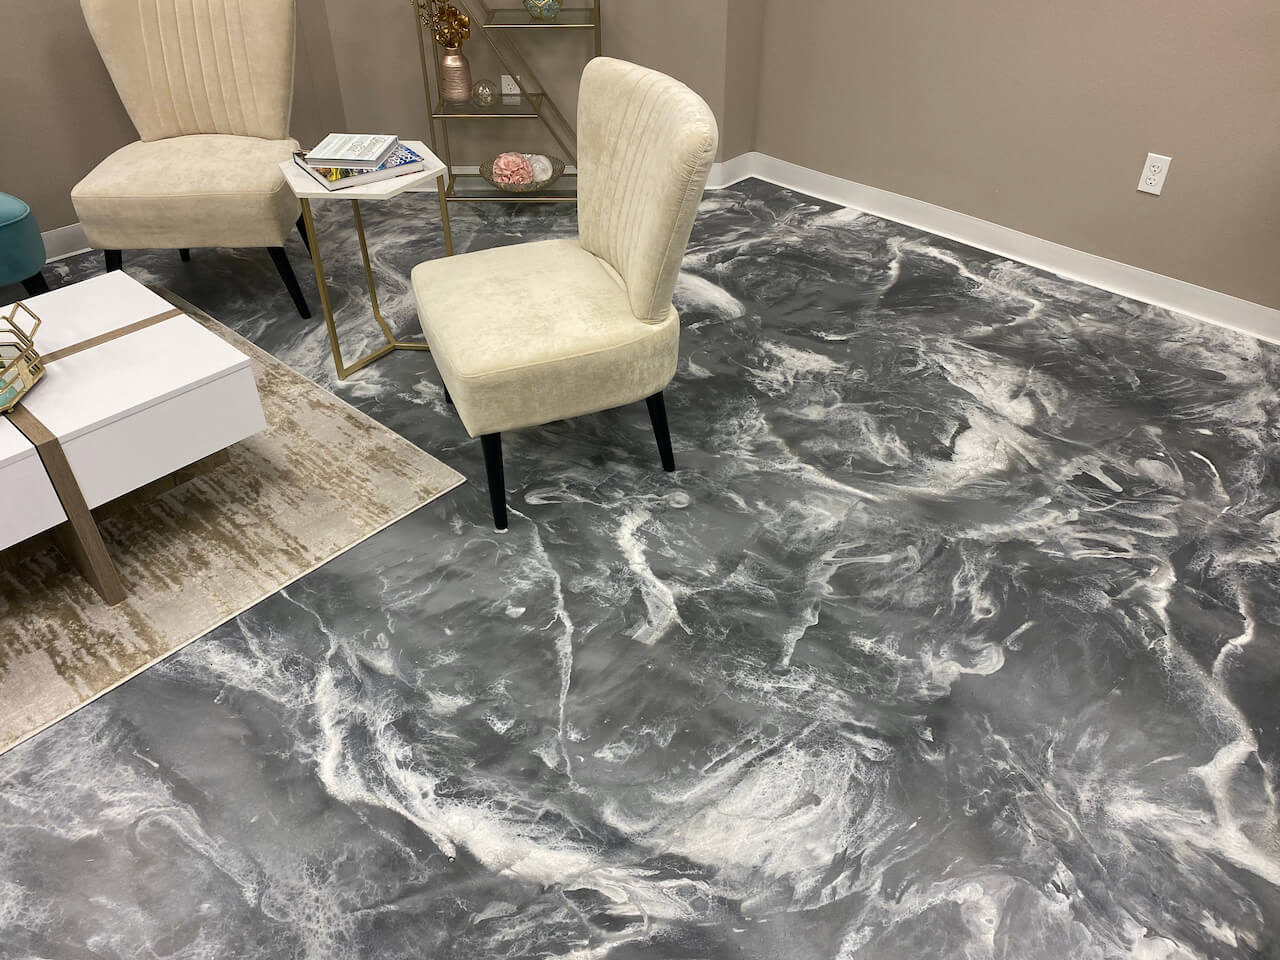
If you’re considering an epoxy floor coating for your home or business, there are several things to keep in mind. First, you’ll need to decide if you want a solid color, swirls, or decorative flakes. The flakes can add slip resistance and a bit of texture to the floor.
Next, you’ll need to determine the desired coating thickness of your floor. The thicker the epoxy coating, the more durable it will be. However, thicker epoxy coatings will also take longer to cure.
Finally, you’ll need to decide on a finish or topcoat. A glossy clear topcoat will be easier to clean but may show imperfections in the coated surface more easily. A matte finish will hide imperfections better but won’t have the glassy surface many prefer. You can even add a grit additive to your final coat. These anti-skid additives ensure industrial-grade slip resistance.
Once you’ve decided on the type of epoxy flooring you want, it’s time to start the project!
How to prepare for an epoxy floor installation – this includes properly preparing the surface
As with most projects, proper preparation is key to a beautifully finished floor. Here we will walk you through the basic steps. But don’t forget, our epoxy floor kits come with our detailed video tutorials.
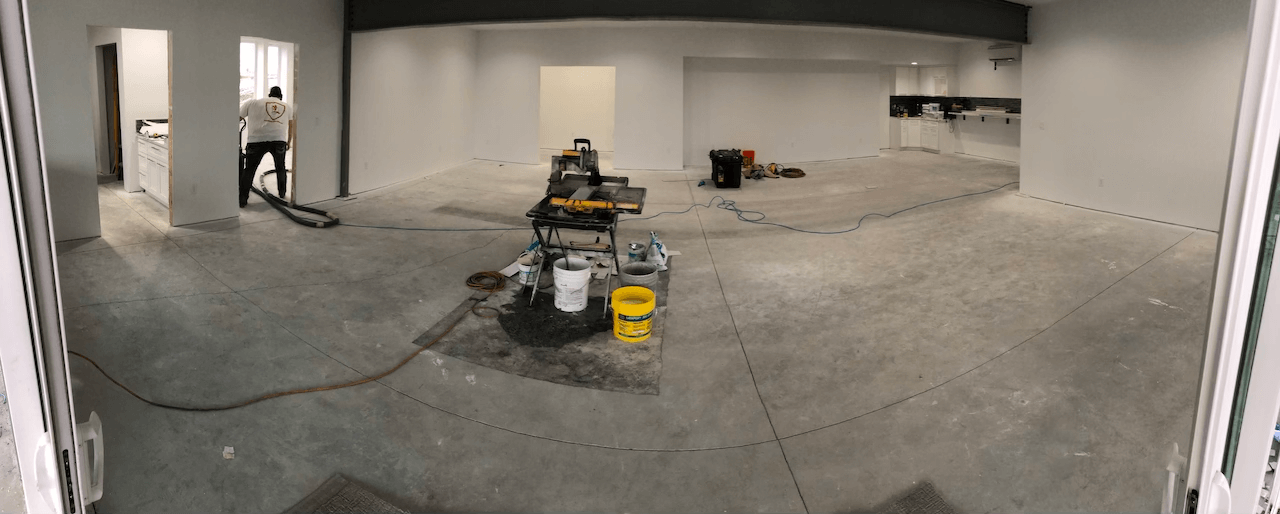
It All Starts With The Prep
The first step is to clean and repair the concrete floor.
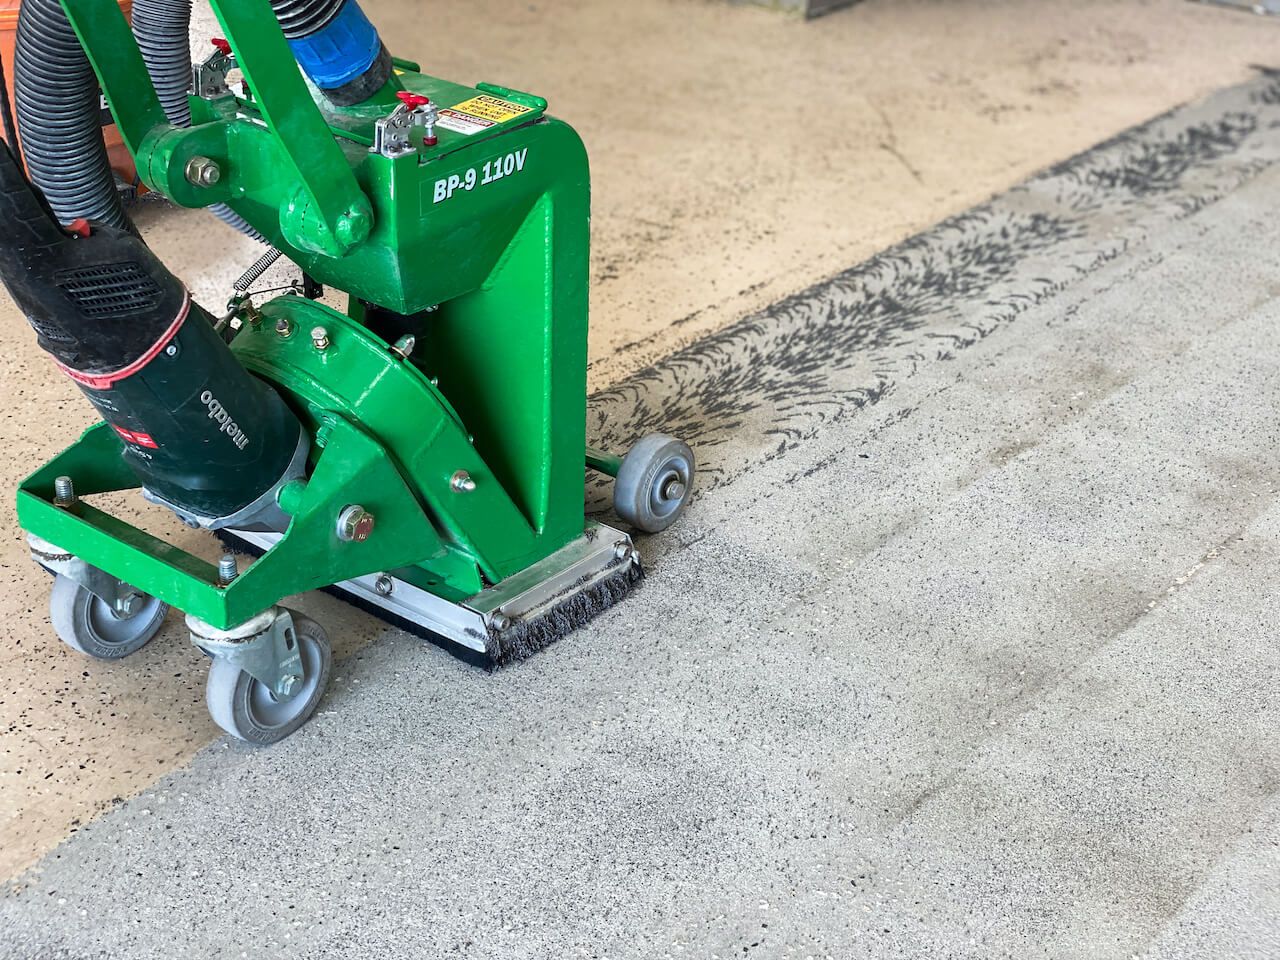
We begin by performing a moisture test, and applying a vapor barrier if necessary. Any cracks or holes should be filled with a durable two-part resin-based patcher paste and allowed to dry completely. The entire floor should then be shot blasted, scrubbed, and rinsed thoroughly.
Pro Tip: A shot blaster is a machine where metal beads are "shot" at the floor, removing the top of the substrate. This ensures an industrial-strength bond and a floor that will last a lifetime.
Applying The Epoxy Primer
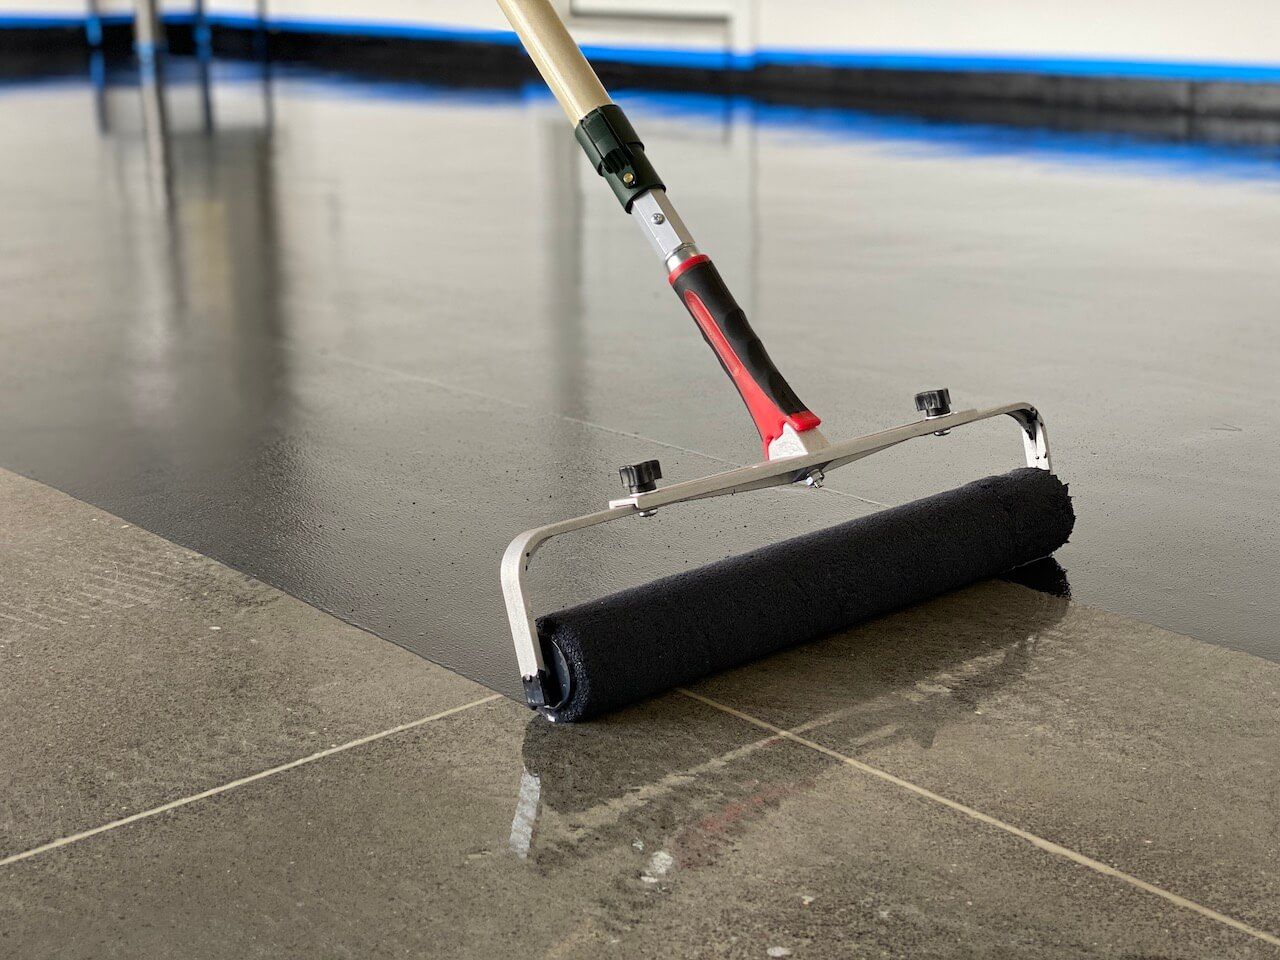
After the floor is completely dry, we apply a self-leveling concrete primer using a paint roller. This ensures that the epoxy will have a smooth surface to bond to.
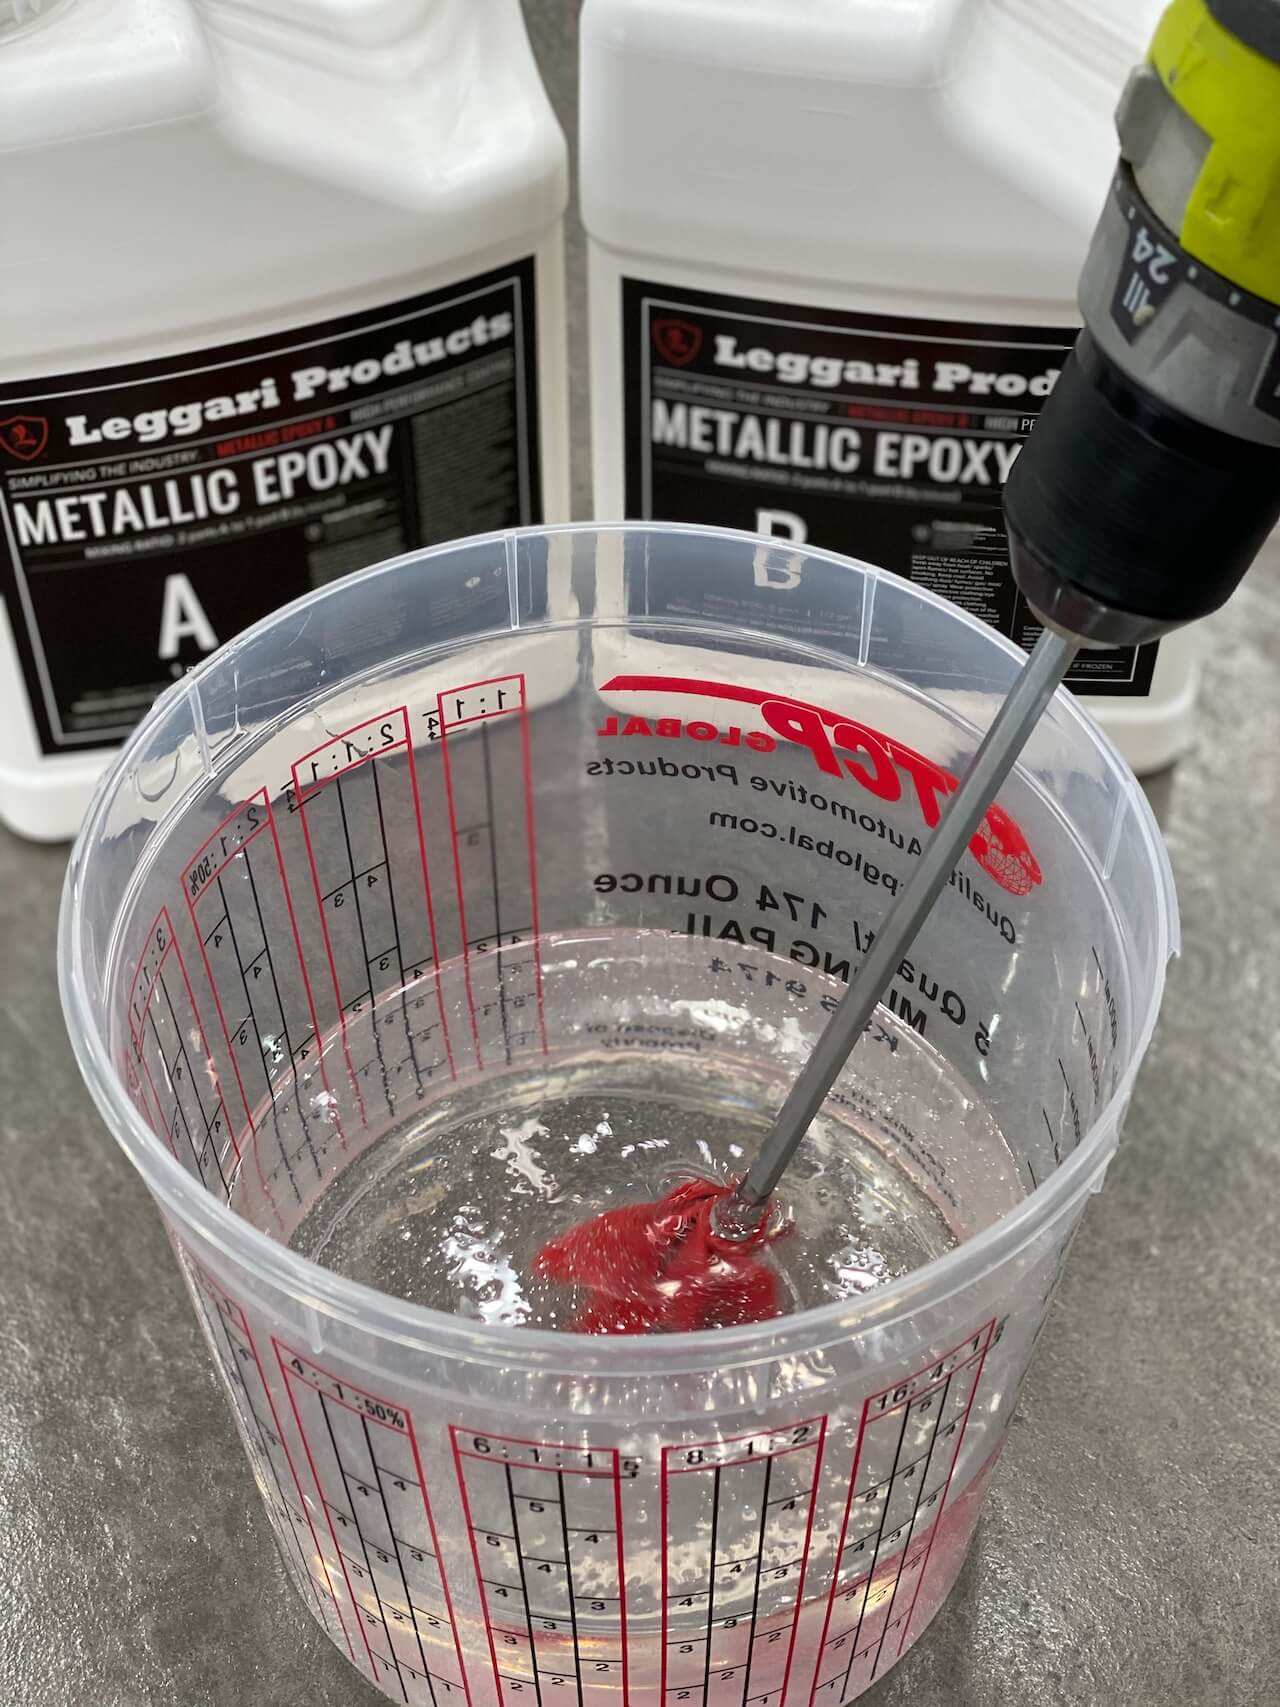
Once the primer is dry, it’s time to mix the epoxy resin and hardener according to the manufacturer’s instructions.
Applying The Epoxy Coating
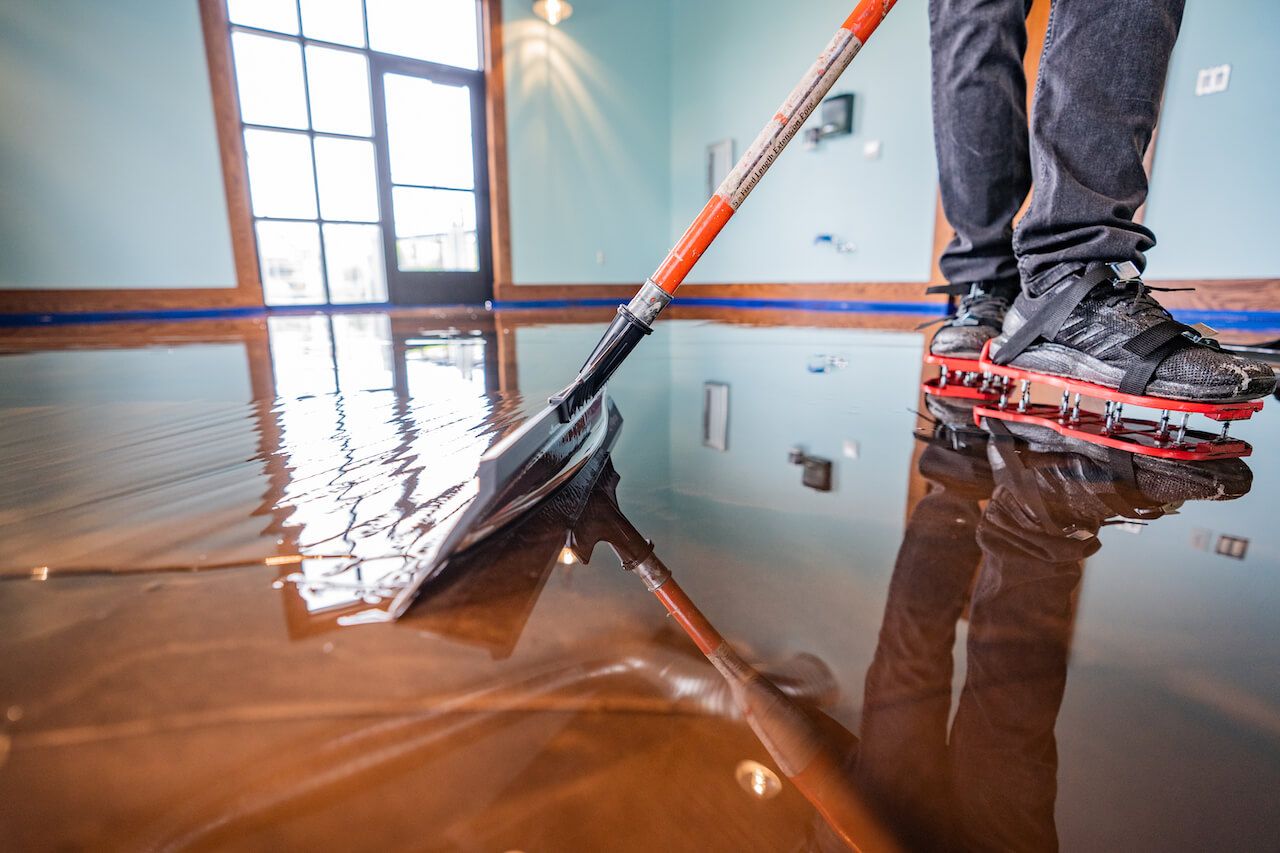
The epoxy is then applied to the floor in thin, even coats and spread with a squeegee. Depending on the square footage, the process may require multiple people.
The floor should then be allowed to cure for the recommended amount of time before you add color flakes or topcoats.
How to apply an epoxy floor coating and achieve a professional-looking finish
Applying an epoxy floor coating is a two-part process. First, the epoxy resin and hardener are mixed together. Next, the mixture is applied to the floor in thin, even coats.
Pro Tip: THE KEY TO A PROFESSIONAL-LOOKING FINISH IS TO MAKE SURE THAT THE EPOXY IS EVENLY DISTRIBUTED. THIS CAN BE DONE WITH A SQUEEGEE OR ROLLER.
Once the epoxy has been applied, it should be allowed to cure for the recommended amount of time. Depending on the type of epoxy used, this can take around 7 days.
After the epoxy has cured, you can add any decorative flakes or topcoats.
Adding Decorative Flakes
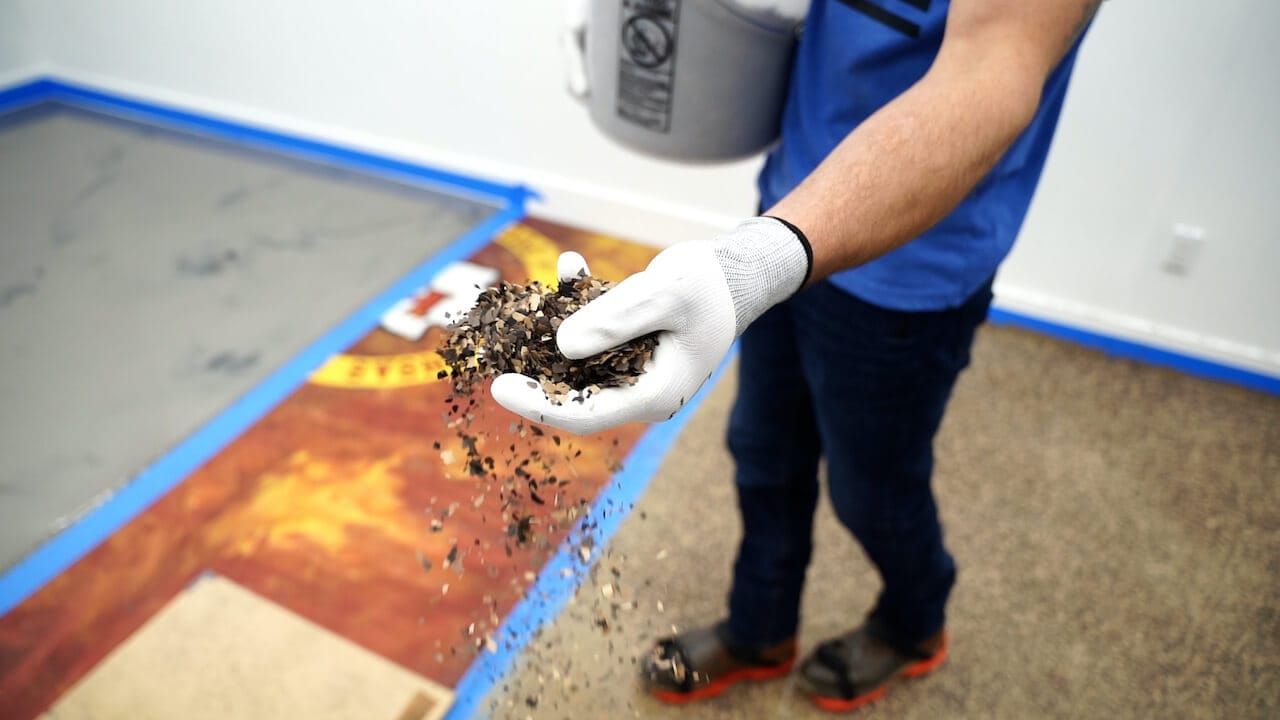
If you want to add a bit of texture and slip resistance to your floor, you can add flakes. The flakes are applied after the epoxy has been mixed and spread on the floor.
To add the flakes, simply toss them over the wet epoxy mixture and then allow it to dry before scraping off any loose flakes.
Once the topcoat has been applied, the flakes will be visible in the finish.
Adding A Topcoat
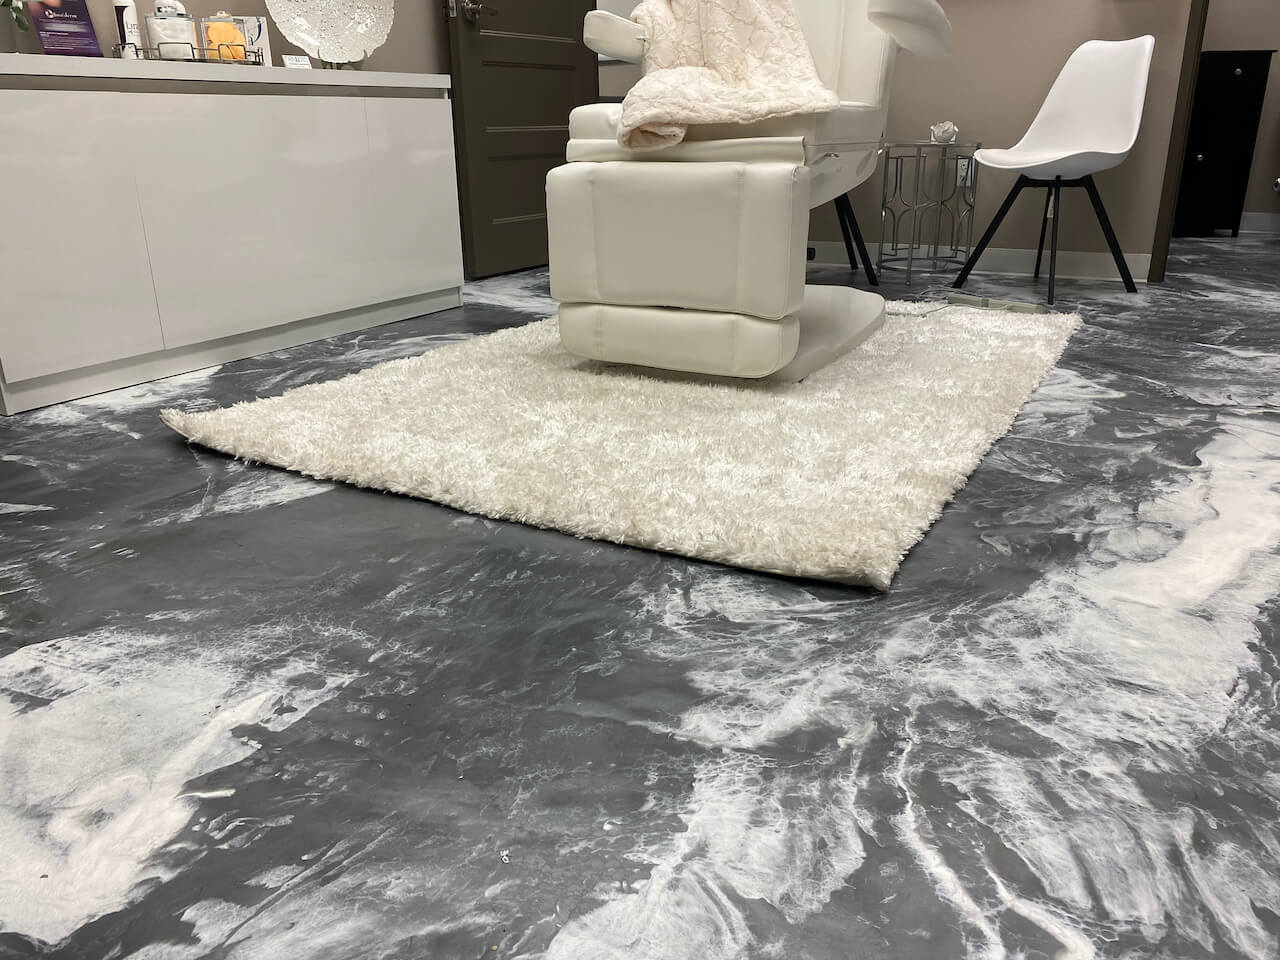
After the first coat of epoxy has cured, you can add a top coat for extra protection. A topcoat is a clear, protective layer that is applied over the epoxy coating.
There are two types of topcoats: glossy and matte. A glossy top coat will give the floor a high-gloss finish that is easy to clean (Clean epoxy floors look amazing!). A matte top coat will give the floor a more muted finish that is less susceptible to showing imperfections.
Applying a topcoat is a simple process. First, the topcoat is mixed together and then applied to the floor with a roller or squeegee. Once the topcoat has been applied, the entire floor should be allowed to cure for the recommended amount of time.
Caring For Your Epoxy Floor
Now that your epoxy floor is installed, it’s important to take care of it. Here are a few tips to keep in mind:
- Sweep or vacuum the floor regularly to remove dirt and debris.
- Mop the floor with a mild detergent and water solution.
- Avoid using harsh chemicals or cleaners on the floor.
- Place mats at entrances to collect dirt and debris.
By following these simple tips, you can keep your epoxy floor looking amazing for years to come!
How to prepare for an epoxy garage floor installation – this includes removing any existing flooring and properly preparing the surface
The first step is to prepare the surface. This means cleaning it thoroughly and making any necessary repairs. If this will be an epoxy garage floor, we often start with a pressure washer on the bare concrete surface to remove any oil stains or other materials that are on the concrete floors.
Once the surface is clean and dry, you’ll need to apply an epoxy primer. The primer will help the epoxy adhere to the floor and will also improve the durability of the finished product.
After the primer has been applied, you’re ready to mix the epoxy.
Remember, epoxy comes in two parts – a resin and a hardener. These parts must be mixed together in the proper ratio before they can be applied to the floor. Once the epoxy has been mixed, it’s time to apply it to the floor.
Epoxy can be applied with a roller or a squeegee (we don’t recommend using a paint brush). For best results, start in one corner of the room and work your way out – and don’t forget to wear your spike shoes. Be sure to evenly distribute the epoxy over the entire surface.
Once all of the epoxy coating has been applied to the concrete floor, you’ll need to let it cure for 24 hours before walking on it or putting any furniture back in the room.
How to care for your new epoxy floor so that it lasts for years to come
So you’ve just installed a new epoxy floor in your home and it looks amazing! But now that the job is done, you might be wondering how to best care for your new floor so that it will last for years to come. Here are a few tips to help you keep your epoxy floor looking like new:
- Sweep or vacuum regularly to remove dirt and debris.
- Mop with a mild soap and water solution as needed.
- Avoid using harsh chemicals or abrasives, as these can damage the floor’s finish.
- Promptly address any chips or cracks that may occur, as these can allow moisture to penetrate the surface and cause damage.
With proper care, your epoxy floor will continue to look great for many years to come!
Is epoxy flooring a DIY project?

Epoxy flooring is definitely a DIY-friendly project. In fact, many homeowners choose to do it themselves to save money. Whether you are looking for a DIY epoxy garage floor or are looking to coat other surfaces in your home, Leggari’s epoxy floor kits are your ticket.
Our floor kits come with everything you need to get the job done right, including detailed instructions and best-in-class tutorial videos. Plus, our customer support team is always available to answer any questions you may have.
So if you’re thinking about doing an epoxy floor installation yourself, definitely check out our DIY floor kits!
How much does an epoxy floor kit cost?
Epoxy floor kits typically start around $500 and go up depending on the surface area of the floor you are looking to coat. However, the price will vary depending on your garage or basement size and the type of epoxy you choose. Sure, true epoxy coatings are more expensive up front than epoxy paint, but you will save a ton of money in the long run. There will be no need to apply a second coat a year down the line.
The other good news is that epoxy flooring is extremely durable, so you can expect your new floor to last for many years. Plus, doing it yourself will save you even more money!
Are epoxy floors good for basements?

Epoxy floors are definitely a good option for basements. In fact, they are often used in commercial and industrial settings because they are so durable. However, there are a few things you should keep in mind if you’re thinking about doing an epoxy floor in your basement:
- Make sure the concrete is clean and free of any dirt or debris before starting the project.
- Be sure to use a primer before applying the epoxy coating. This will help the epoxy to better adhere to the concrete and will also improve the overall look of the finished floor.
- If you are going to be using your basement as a living space, be sure to choose a clear coat or top coat.
Doing an epoxy floor in your basement is a great way to make the space more durable and easy to clean. Just be sure to follow the above tips and you’ll have a great-looking floor that will last for many years!
Do epoxy floors last?
Epoxy floors are incredibly durable and can last for many years with proper care and maintenance. Whether you are just coating your garage floor or are looking at coating the whole floor in your house, epoxy is often a great choice. However, they’re not indestructible. Choosing a high-quality product over cheap epoxy paint is one of the best ways to avoid disaster.
Additionally, taking care of your floor and promptly addressing any chips or cracks that may occur will also help to extend the life of your epoxy floor. With proper care, your epoxy floor can last for many years!
In general, Leggari’s DIY Epoxy Kits are a great choice for those looking for a durable and long-lasting floor.
If you’re looking for a durable, long-lasting garage floor coating, epoxy flooring is a great option. It’s easy to install, easy to maintain, and can give your garage or basement a whole new look. Plus, it’s a great DIY project.
Final Thoughts…
By following the steps in this article, you can ensure that your epoxy flooring project is a success. Be sure to take your time and don’t try to rush through the process. And if you run into any problems, our team of experts is here to help. Contact us today for more information about our products and services.